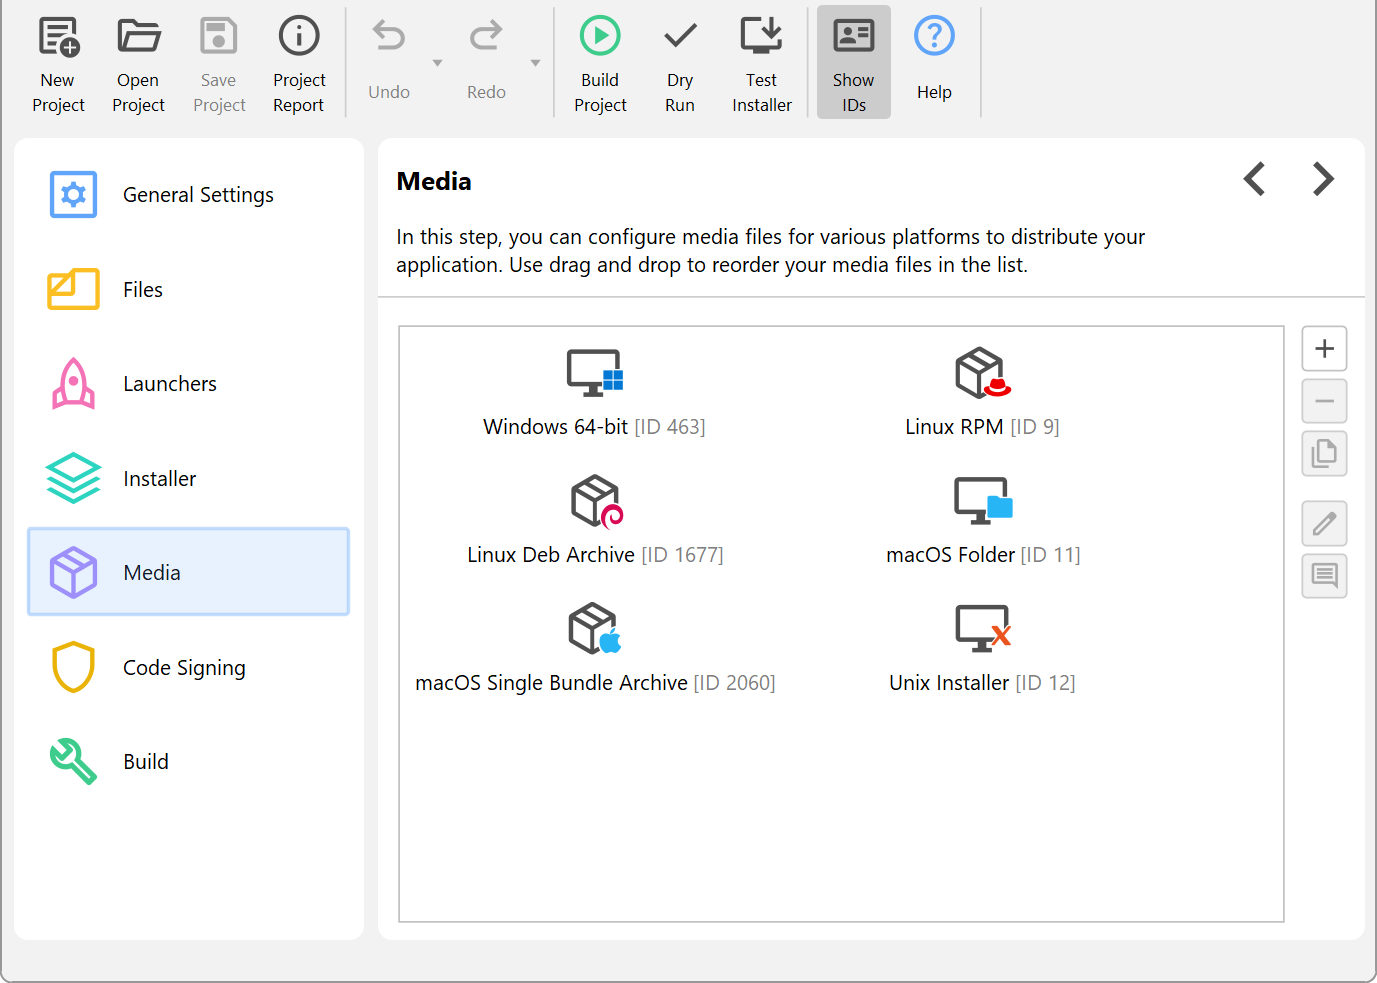
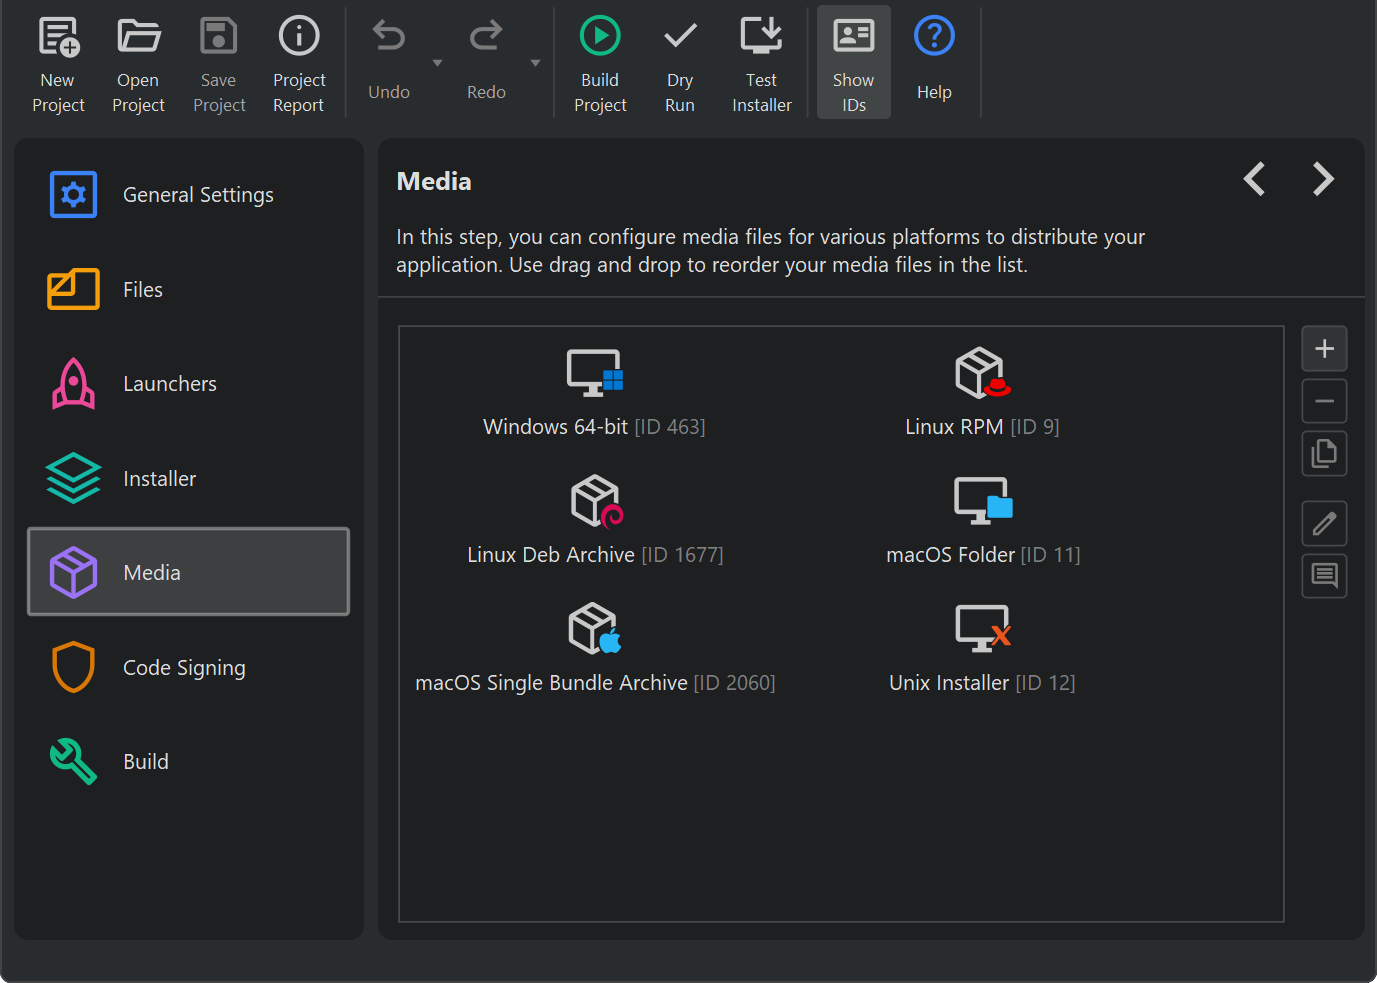
Media files are the final output of install4j: single artifacts that are used to distribute your application to your users. The creation of a media file has platform-dependent options, so for each platform, you have to define a separate media file. It also makes sense to define several media files for one platform in case you wish to distribute different subsets of your distribution tree, or if you distribute your application with and without a bundled JRE.
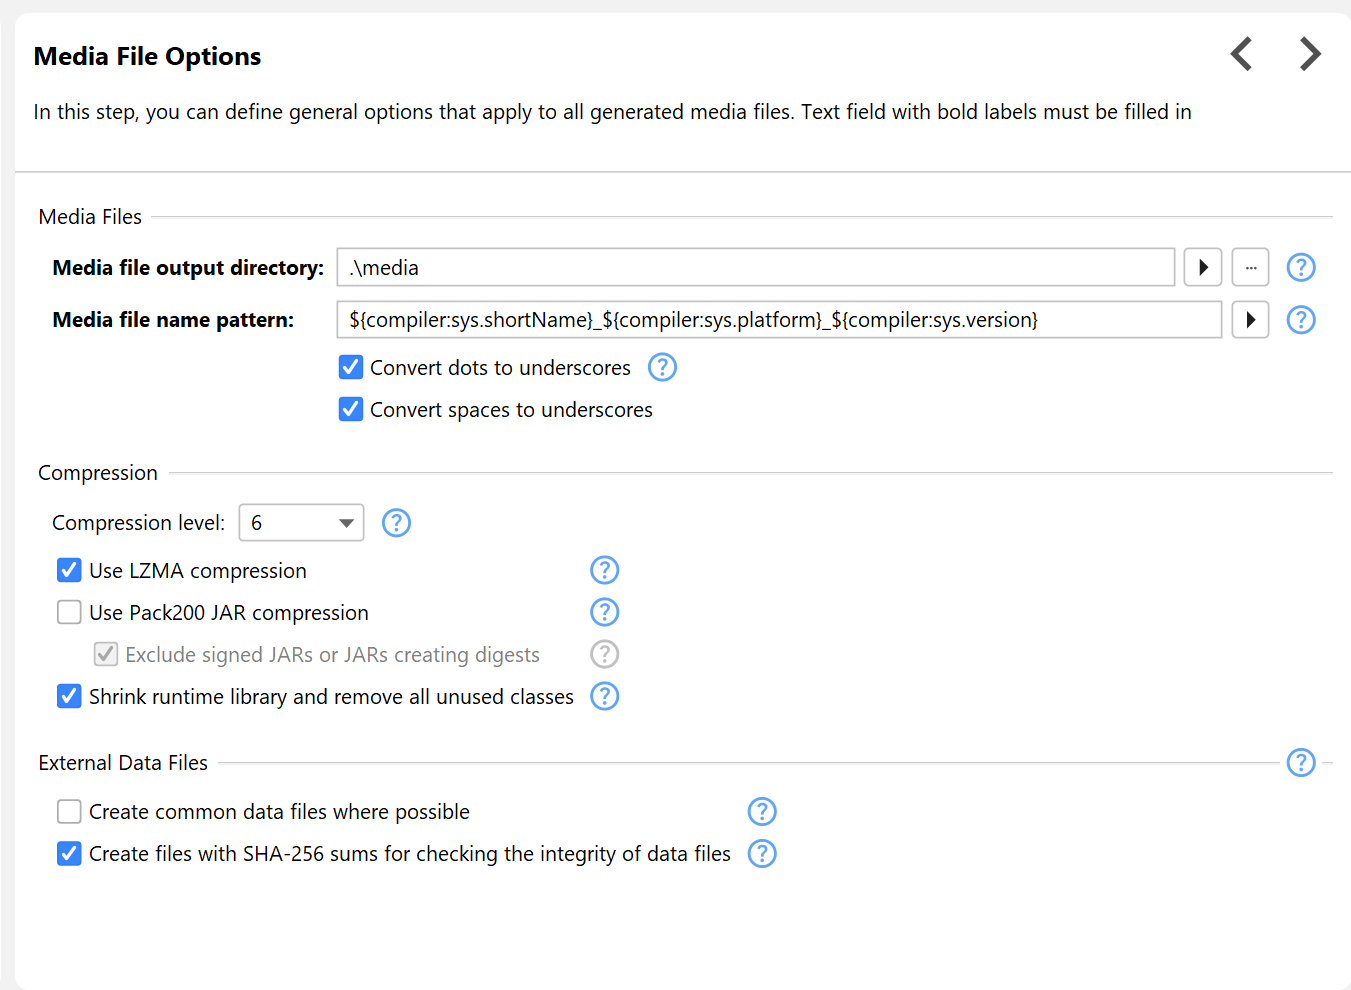
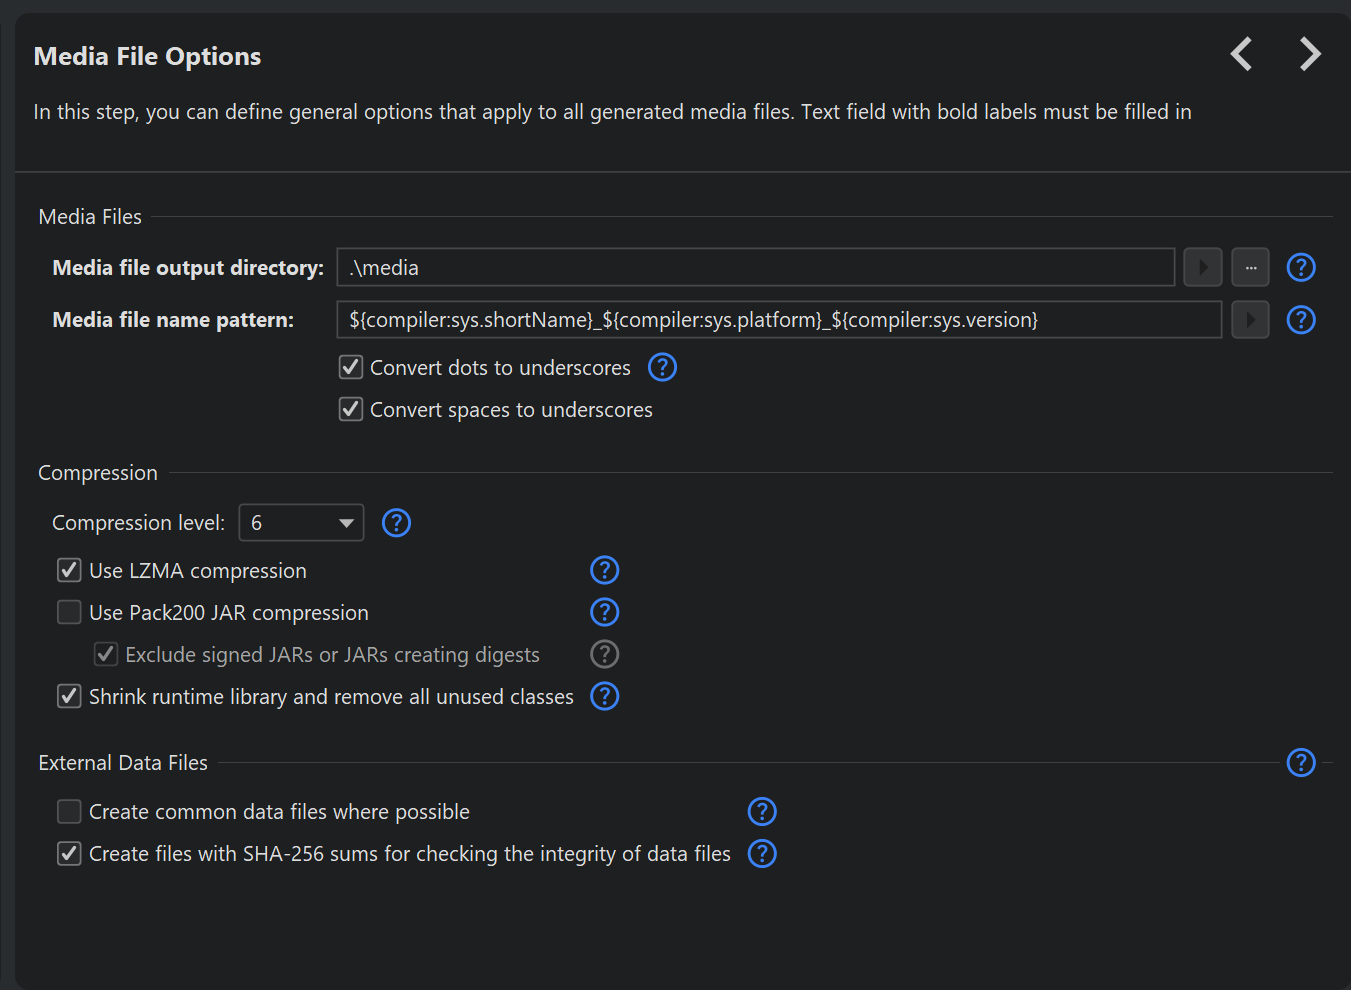
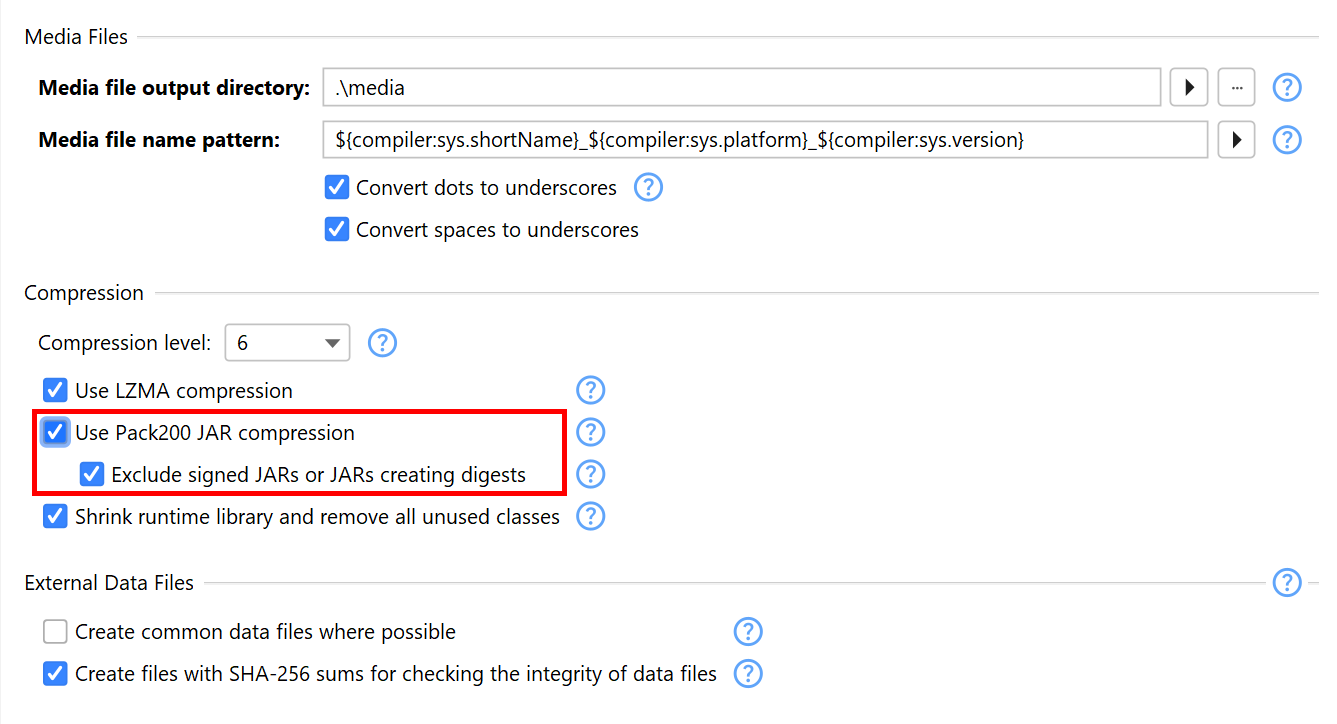
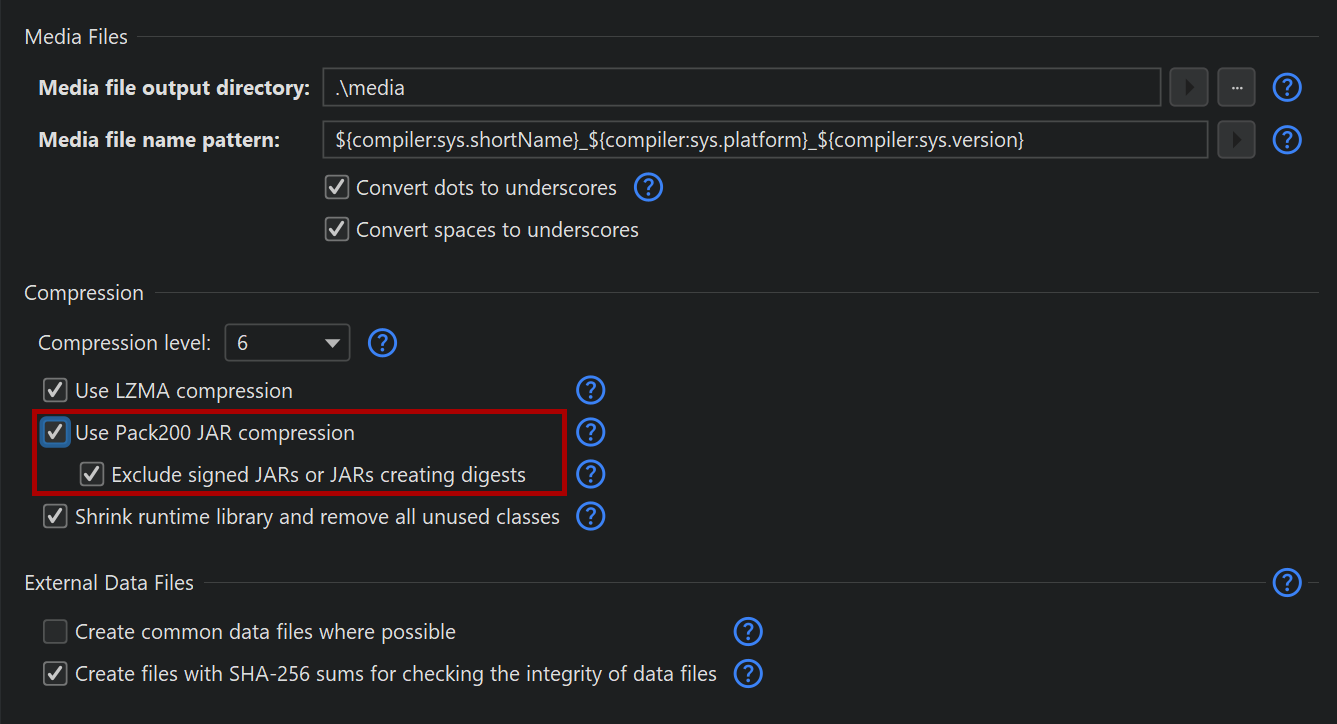
Common options for all media files, such as the destination directory, a pattern for naming the output file and compression options are defined on the "General Settings->Media File Options" step.
Media files have names and IDs. The name is available elsewhere by using the sys.mediaName
compiler variable but is otherwise not used by the compiler. IDs of media files can be used for selecting media
files when building the project from the command line. You can show IDs
by toggling the "Show IDs" toolbar button.
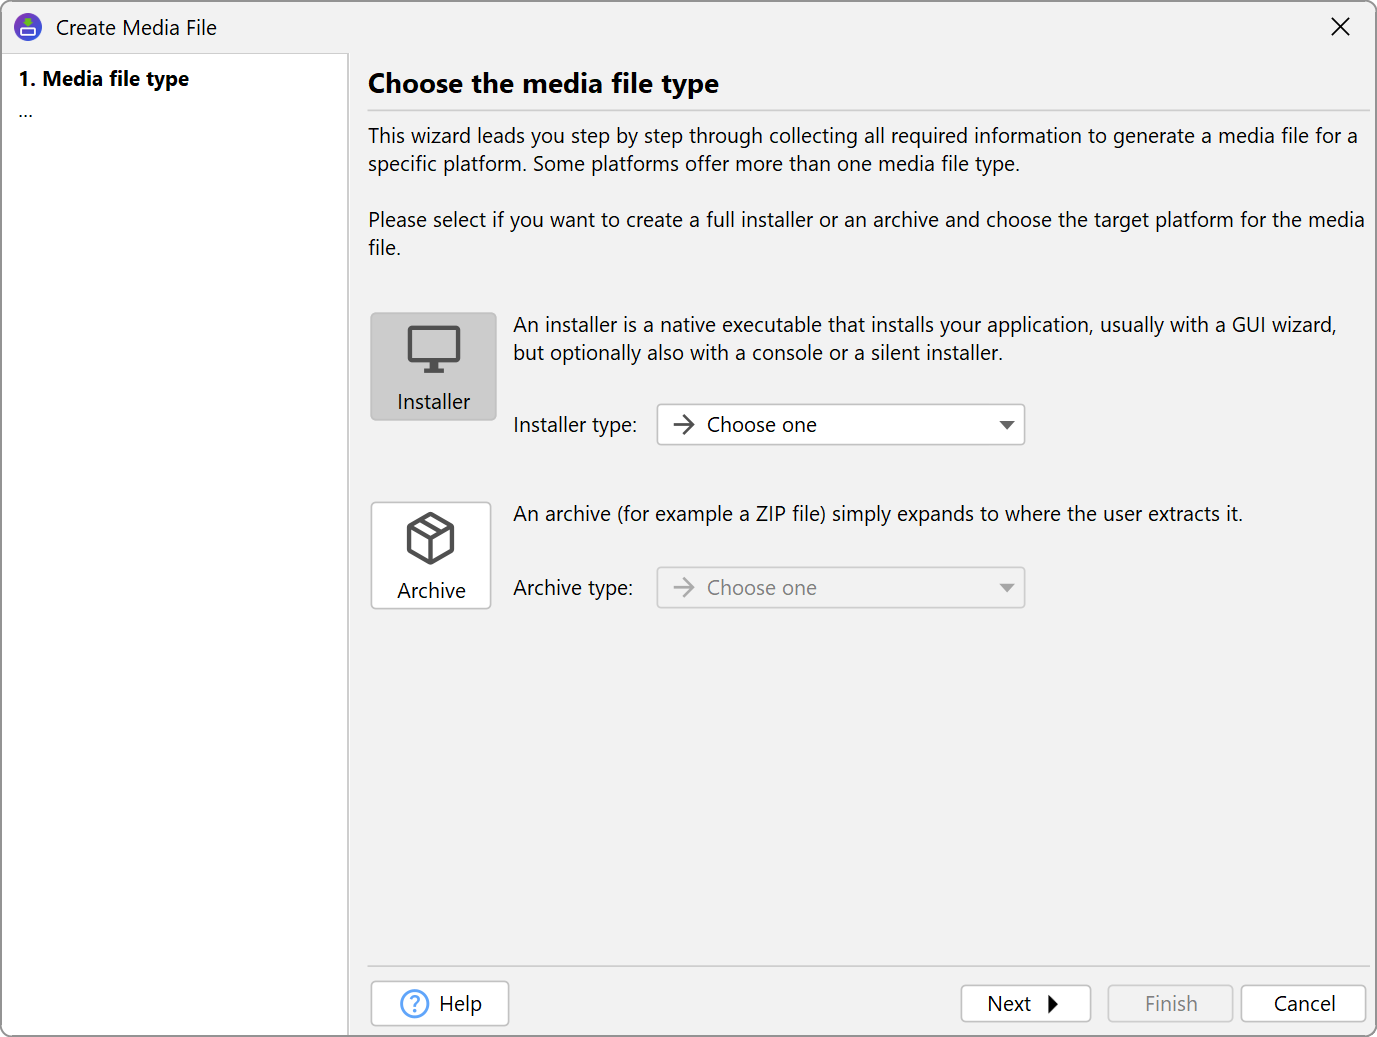
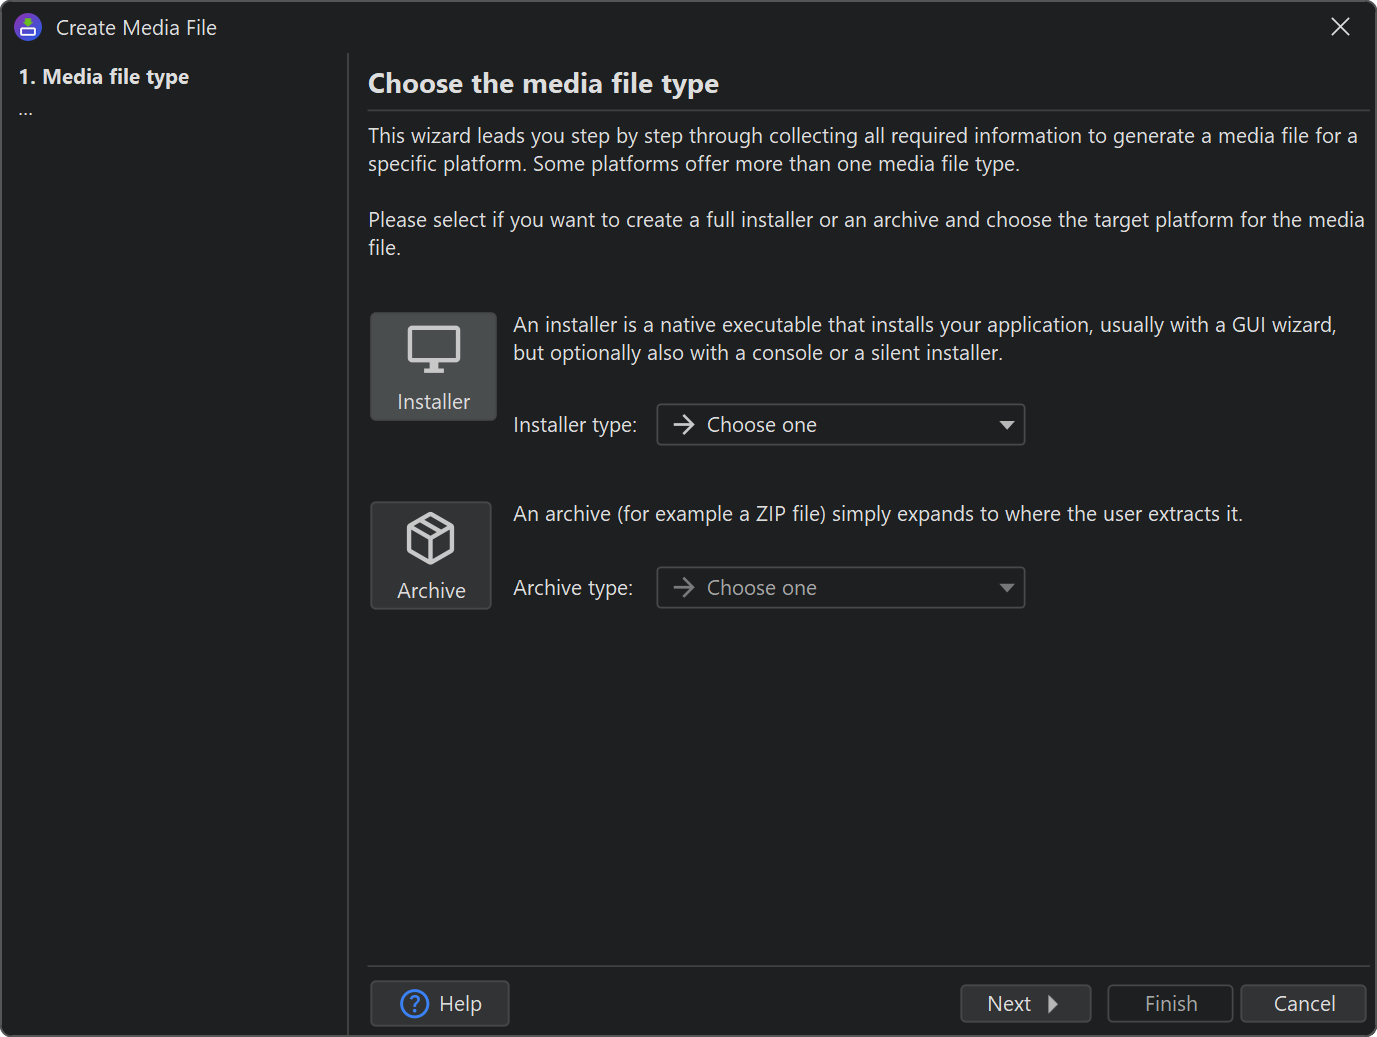
There are two fundamentally different types of media files: installers and archives. Installers support the full functionality of install4j while archives are limited in several ways.
Installers
Installers install your application programmatically with the configured sequence of screens & actions. Optionally, an installer can be executed in unattended or in console mode and it can download a JRE if no suitable JRE is found on the target system.
The following installer media file types are available:
-
Windows
A media file for Windows is a native setup executable that installs your application with an installer wizard.
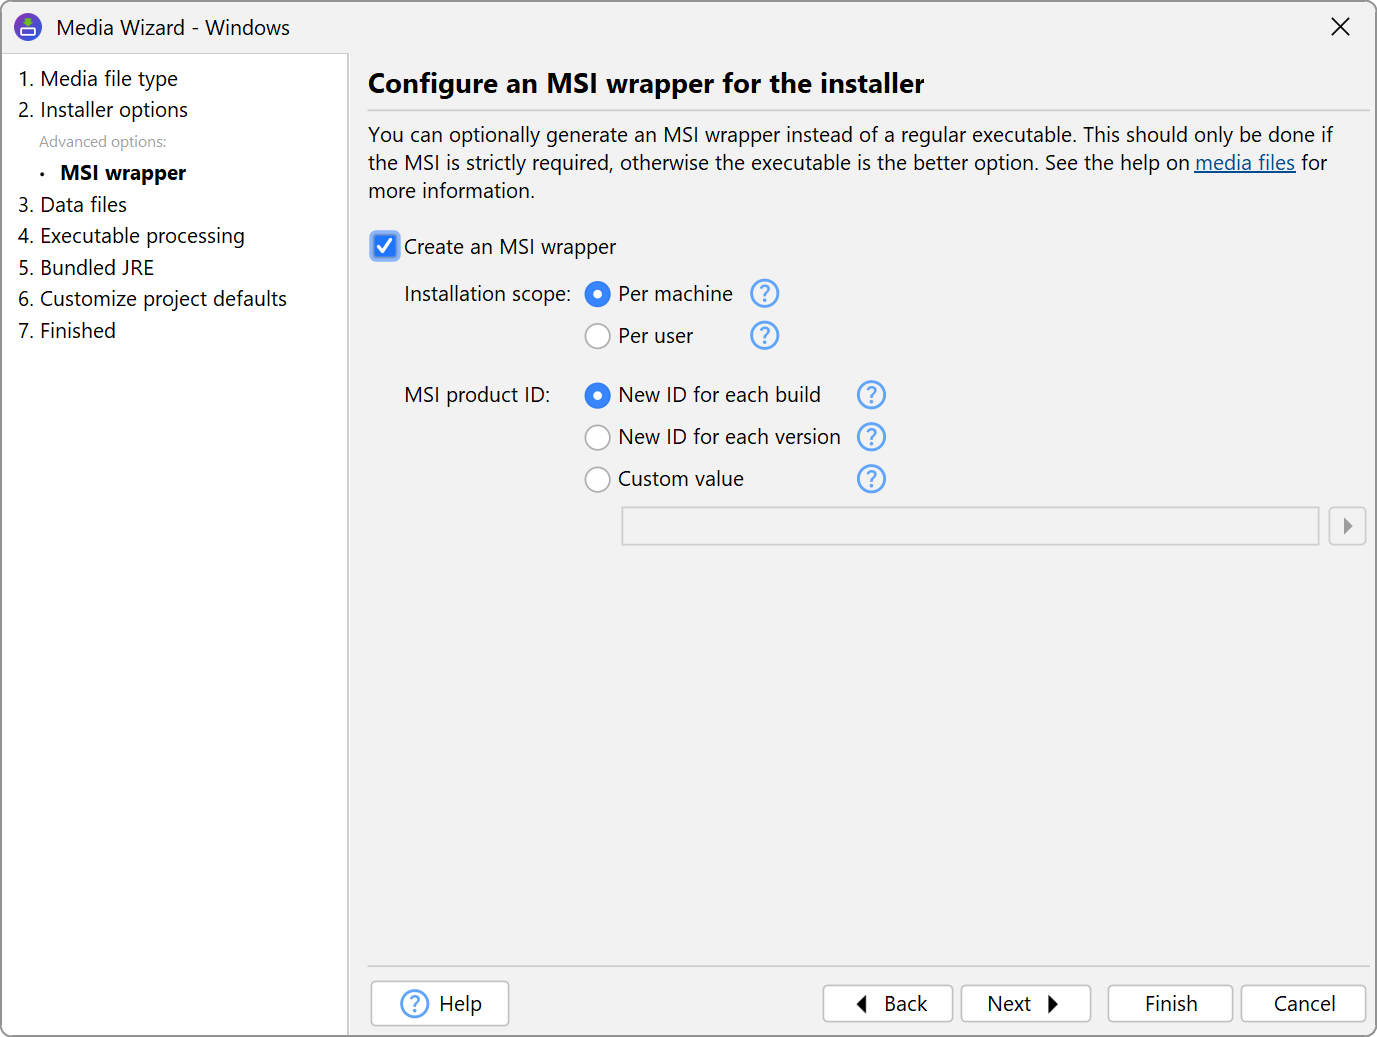
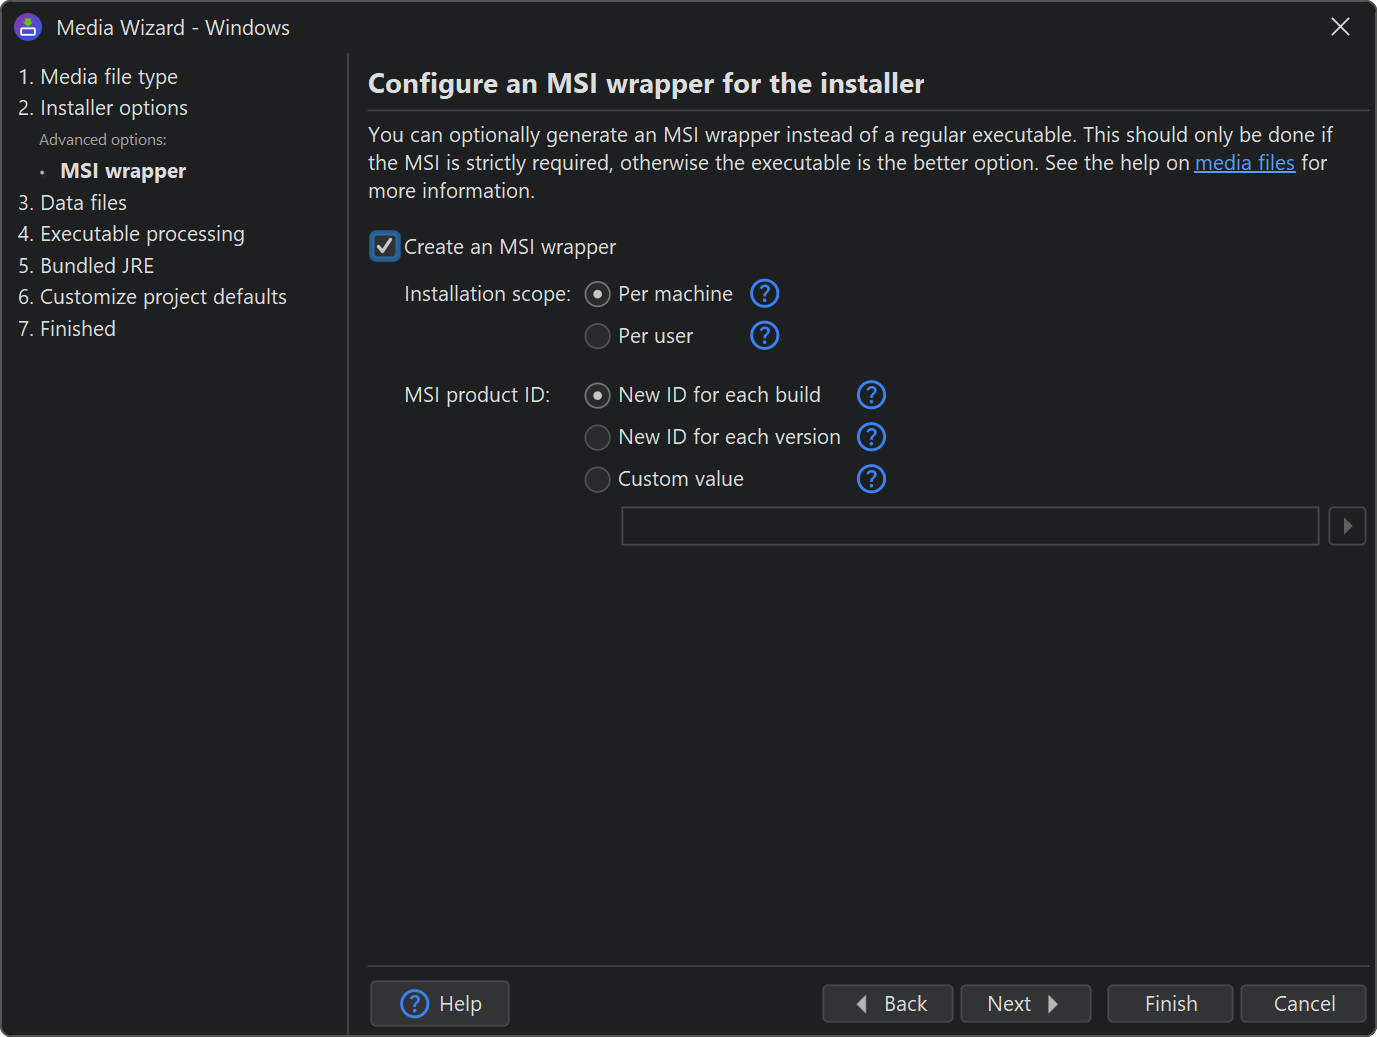
Optionally, you can create an MSI wrapper instead of a regular executable. This is configured on the "MSI wrapper" advanced options step below the "Installation options". It is not recommended to use the MSI wrapper without having a specific requirement for it. The MSI wrapper adds a lot of extra process machinery and additional logic to bridge mismatches between the concepts of install4j and MSI. This results in additional overhead, increased temporary disk space requirements, reduced responsiveness and extra considerations for the non-GUI installer modes.
MSI wrappers have a fixed setting for whether an installation will be performed per-machine or per-user. In install4j, this corresponds to whether the "Request privileges" action is performed or not. In the "per-machine" MSI installation scope it is your responsibility to ensure that the "Request privileges" action is always executed and that in the "per-user" MSI installation scope the "Request privileges" is never executed.
MSI will prevent that an installation is repeated if it has already been performed. The identity of an installation is defined by the MSI product ID. If an installation with the same product ID is found, the MSI installer will show an error message and terminate. By default, install4j creates a unique MSI product ID for each build. You can also tell install4j to create a new product ID for each application version as configured on the "General Settings->Application Info" step, or to use a custom MSI product ID that you can change as required.
To change the installation directory, the variable
INSTALLDIRcan be specified on the command line. In addition,PARAMETERcan be used to pass arbitrary command line parameters to the wrapped installer. -
macOS folder
The folder media file for macOS is started by the user from the Finder after opening the DMG. The wizard installs your application as a folder that contains the entire distribution tree and multiple application bundles for each included GUI launcher. -
Unix/Linux GUI installer
A Unix/Linux GUI installer media file is an executable shell script that extracts an installer and installs your application with an installer wizard.
Archives
Archives can be extracted by the user to arbitrary locations or are submitted to package managers for installation. No screens are shown and no actions are executed. If you define additional installation roots, the files in them are not installed. Also, no installation components are downloaded.
Apart from the "macOS single bundle" archive that produces the idiomatic deployment mode for GUI applications on macOS, archives are mainly intended as a fallback or for additional packages such as documentation bundles.
When a launcher is executed for the first time after an extraction, you can call a custom installer application
to perform tasks that would otherwise have been part of the installer. With the
ApplicationLauncher.isNewArchiveInstallation() method you can find out whether this is the case:
import com.install4j.api.launcher.*;

if (ApplicationLauncher.isNewArchiveInstallation()) {
    ApplicationLauncher.launchApplication("123", null, true, null);
}
where "123" is the ID of the custom installer application that should be run.
The following archive media file types are available:
-
Windows archive
An archive media file for Windows is a ZIP-file that contains your application. -
macOS single bundle archive
A single bundle media file for macOS is a DMG or .tgz archive that contains a single application bundle for a selected GUI launcher. Command line launchers and service launchers are contained in the application bundle. If you wish to support multiple GUI launchers, choose the "macOS folder archive" media file type instead.
All files in the distribution tree are contained inside the application bundle under the relative path
Contents/Resources/app.On macOS 13+, this is the preferred way to distribute a GUI application on macOS. To make use the screen and action system in install4j for installations, the "Installer options" screen allows you to select a custom installer application that is executed the first time the user starts the application bundle.
The single bundle media file type supports static definitions of launch agents and launch daemons that are contained inside the application bundle. You should use this facility instead of executing "Install a service" or "Add a startup executable" actions in a custom installer application because the static definitions will be removed automatically when the user deletes the app bundle.
However, launch agents and launch daemons defined in this way have to be installed with the API at runtime. You should couple this in your application with a question or an explanation to the user to make OS notifications more transparent. The following code installs a launch agent:
com.install4j.api.macos.MacServiceManagement.registerLaunchAgent("your identifier");and the following code installs a launch daemon:
com.install4j.api.macos.MacServiceManagement.registerLaunchDaemon("your identifier");The API also offers methods to unregister launch agents and launch daemons as well as methods to register the main app bundle itself as a login item. To query the registration status of a launch agent or launch daemon, use
com.install4j.api.macos.MacServiceManagement.getLaunchDaemonStatus("your identifier")and to open the system settings in the "Login Items" section to let the user manage applications that are started at login, usecom.install4j.api.macos.MacServiceManagement.openSystemSettingsLoginItems().For more information on the related concepts, see the SMAppService API documentation from Apple.
-
macOS folder archive
A folder media file for macOS is a DMG or .tgz archive that contains the distribution tree and multiple application bundles for each included GUI launcher. -
Unix/Linux archive
A Unix/Linux archive media file is a gzipped TAR archive that contains your application. Users will extract them with a command like
tar xzf archive.tar.gz
-
Linux RPM
An RPM archive for Linux can be installed and uninstalled with the
rpmcommand on Linux distributions that use the Redhat package management.A basic installation command looks like
rpm -i archive.rpm
You can configure custom installer applications to run in the post-installation phase and the pre-uninstallation phase. Alternatively, default actions for installed launchers can be performed without starting a JVM. These include the installation of services, creating links for non-service launchers in
/usr/local/binand integrating GUI launchers into the menu of the desktop environment. In addition, bash scripts for pre-install, post-install, pre-uninstall and post-uninstall phases can be configured.If your package has dependencies on other packages, you can specify them in the media wizard. Also, if you rename your package, you can specify other package names in the "Replaced packages" field and they will be removed automatically when your package is installed.
-
Linux Deb
A Deb archive for Linux can be installed and uninstalled with the
dpkgcommand on Linux distributions that use the Debian package management.If you deliver the .deb file as a download, the user will have to install it with
sudo dpkg -i archive.deb
If you specify dependencies for the .deb file in the media wizard, they will not be installed automatically by the above command. If dependencies are missing,
dpkgwill simply report a failure due to the missing dependencies. If you need to install dependencies from configured repositories with an external .deb file, the installation is a 2-step process:sudo dpkg -i your_package.deb sudo apt-get install -f
The second line installs the missing dependencies from the repositories.
Deb media files have the same functionality for running custom installer applications as RPM media files as well as for handling dependencies and replaced packages.
Customizing project defaults
Many project configuration settings can be overridden for each media file. Settings in text fields can be overridden by using compiler variables and overriding them in the "Customize project defaults->Compiler variables" step of the media wizard.
It is also possible to override compiler variables for specific media files from the command line by prefixing the variable name with the media file ID and a colon, as in
-D 123:key=value
if the media file ID is "123". As a special case, you can change the principal language on a per-media file basis
by setting the compiler variable sys.languageId with the
2-letter ISO code of the desired language, for example
-D 123:sys.languageId=fr
For some features where text fields are not used, special screens are available in the "Customize project defaults" category. They let you exclude files, launchers, installation components and installer elements. In addition, the principal language and auto-update options can be overridden for the media file.
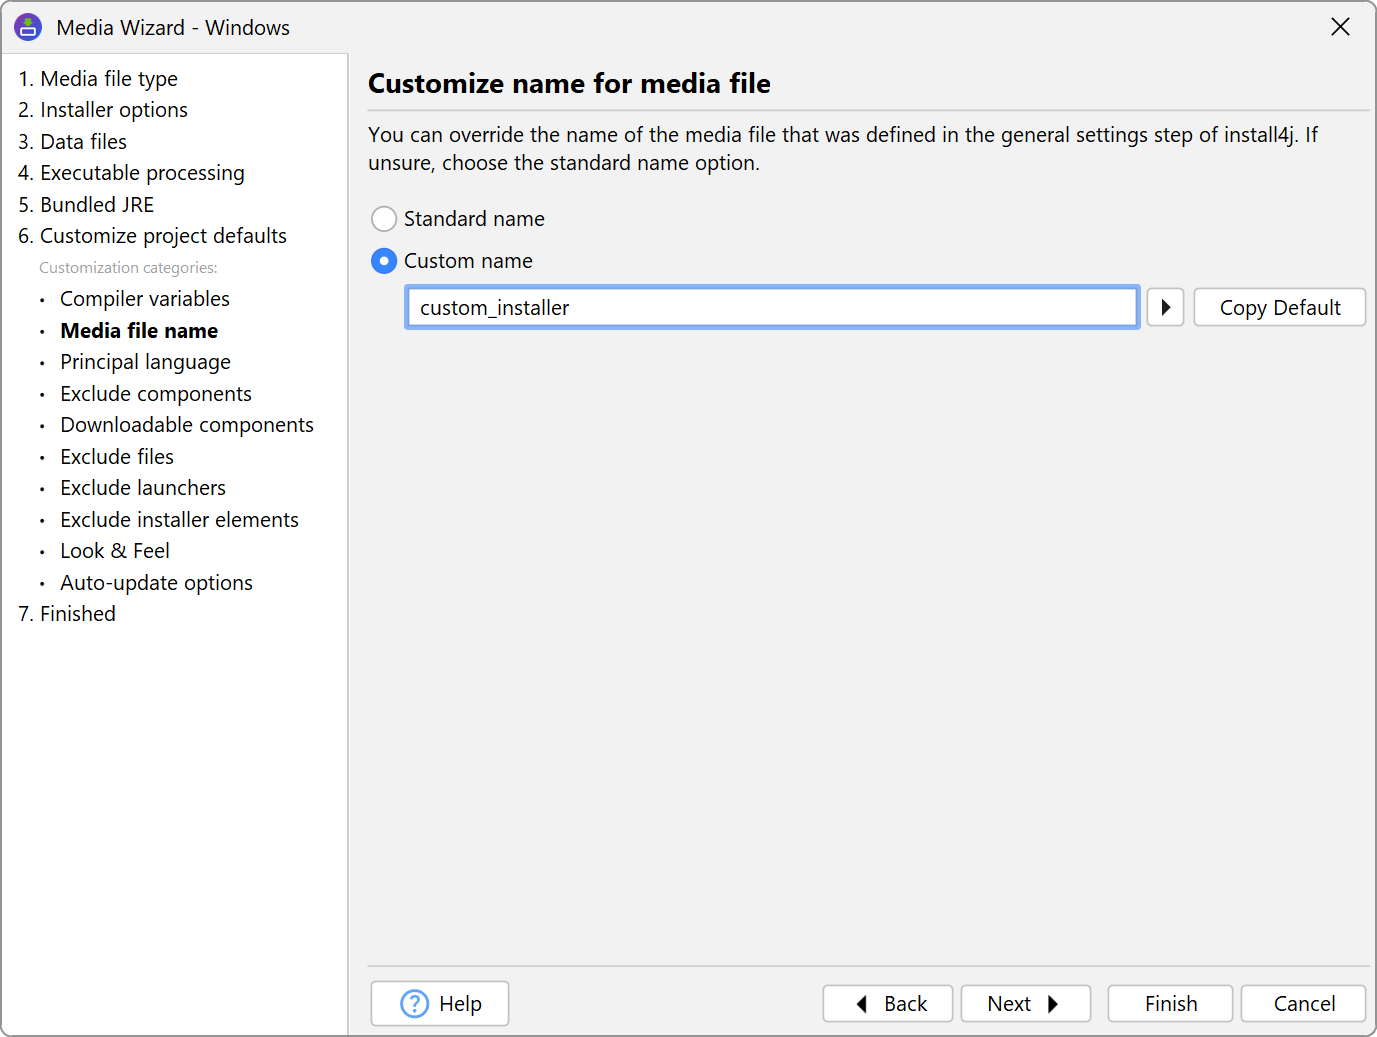
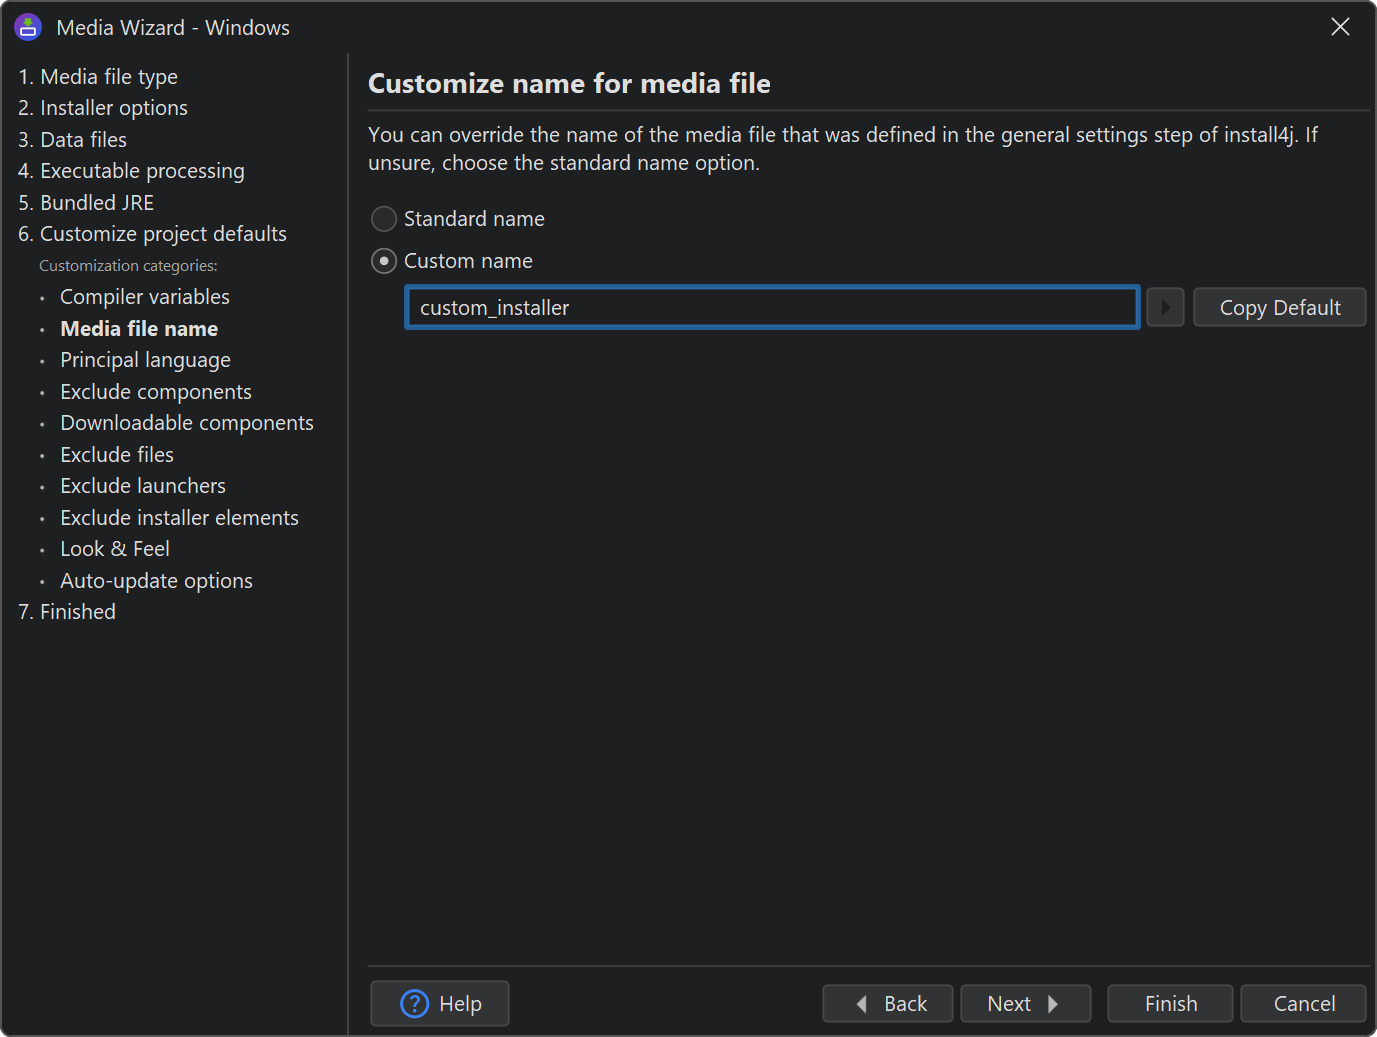
Because it is often necessary to change the name of the media file from the global media file pattern configured on the "General Settings->Media File Options" step, a separate customization step is available in the media wizard. For example, you may want to produce two different variants for the same platform with and without some particular files. To avoid a name clash of the two media files, you have to adjust the name of one or both of the media files.
Pack200 JAR compression
Pack200 compression is a compression algorithm that was designed for JAR files and achieves exceptional results, especially for large JAR files.
If you have signed JAR files or JAR files that create a digest, apply the $JDK_HOME/bin/pack200
executable in your build process with
pack200 --repack my.jar
before signing the JAR files. Pack200 rearranges JAR files, but the reordering is idempotent, so the above pack/unpack sequence creates a stable JAR file.
While Pack200 compression can be quite slow, Pack200 decompression is relatively fast. Pack200 compression is only used for installers and not for archives.
To avoid problems with external JAR files, you can check the "Exclude signed JARs or JARs creating digests" option.
If you would like to exclude selected JAR files only, you can place an empty *.nopack file next to it.
For example, if the jar file is named app.jar, then a file app.jar.nopack in the same
directory will disable Pack200 compression for that file.
To pass options
to the packer, create a file *.packoptions next to the file and add one option per line.
Currently, only -P and --pass-file are supported.
