In the "Files" step of the install4j IDE, you define your distribution tree, collecting files from different places to be distributed in the generated media files. In addition, you can optionally define installation components.
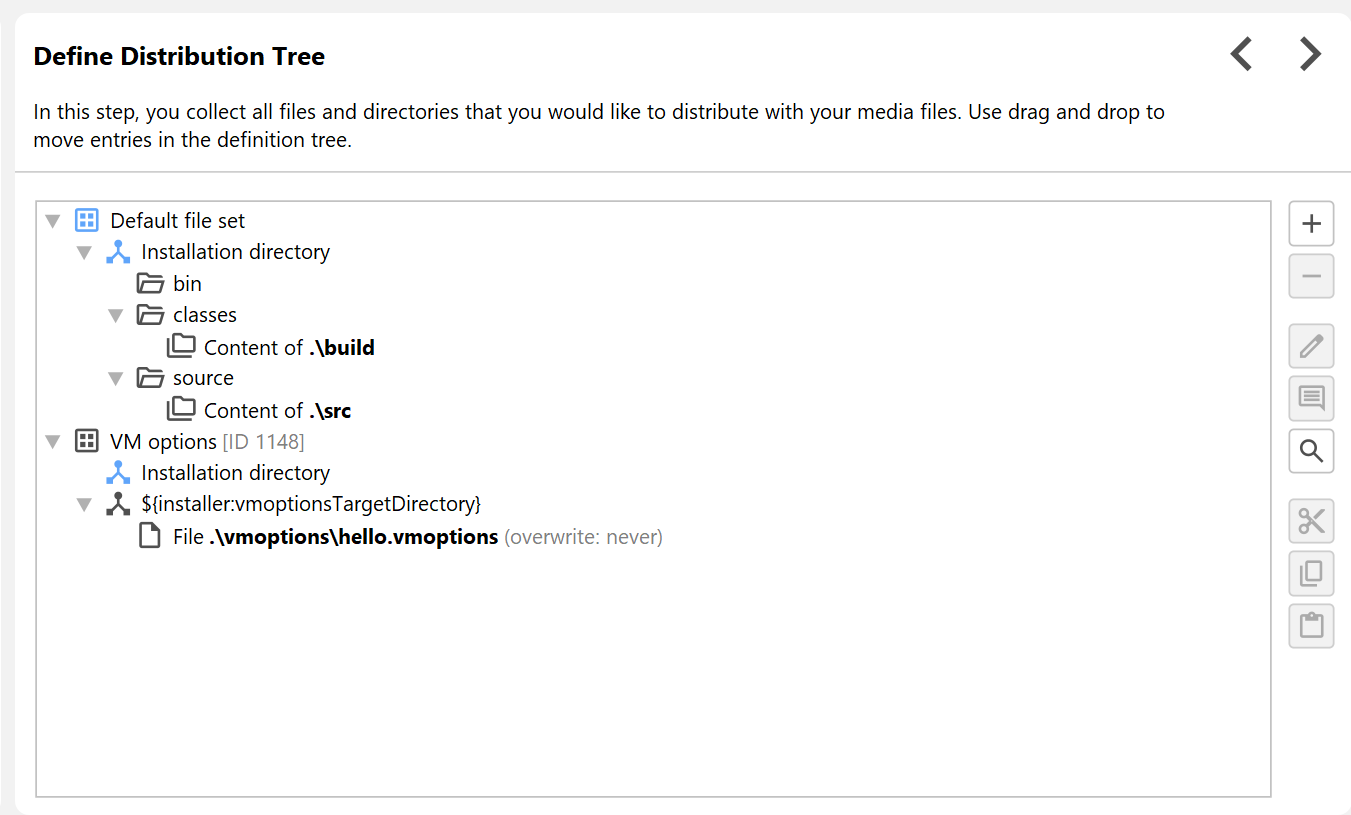
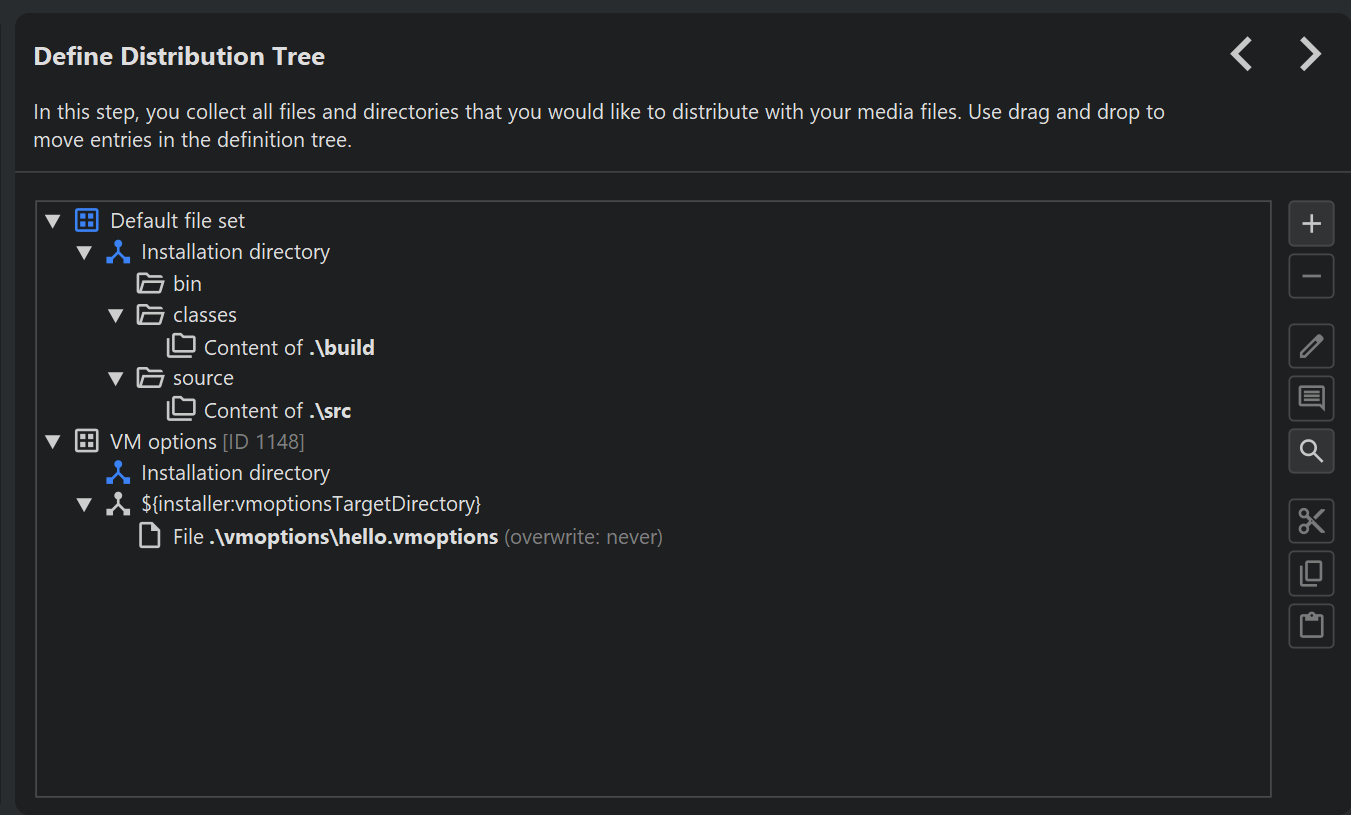
On the "Define Distribution Tree" step, you add and edit the structural elements that make up the distribution tree. You can create your own directory structure and "mount" directories from your file system or add single files into arbitrary directories. With drag and drop and double-clicking on nodes you can modify an existing distribution tree.
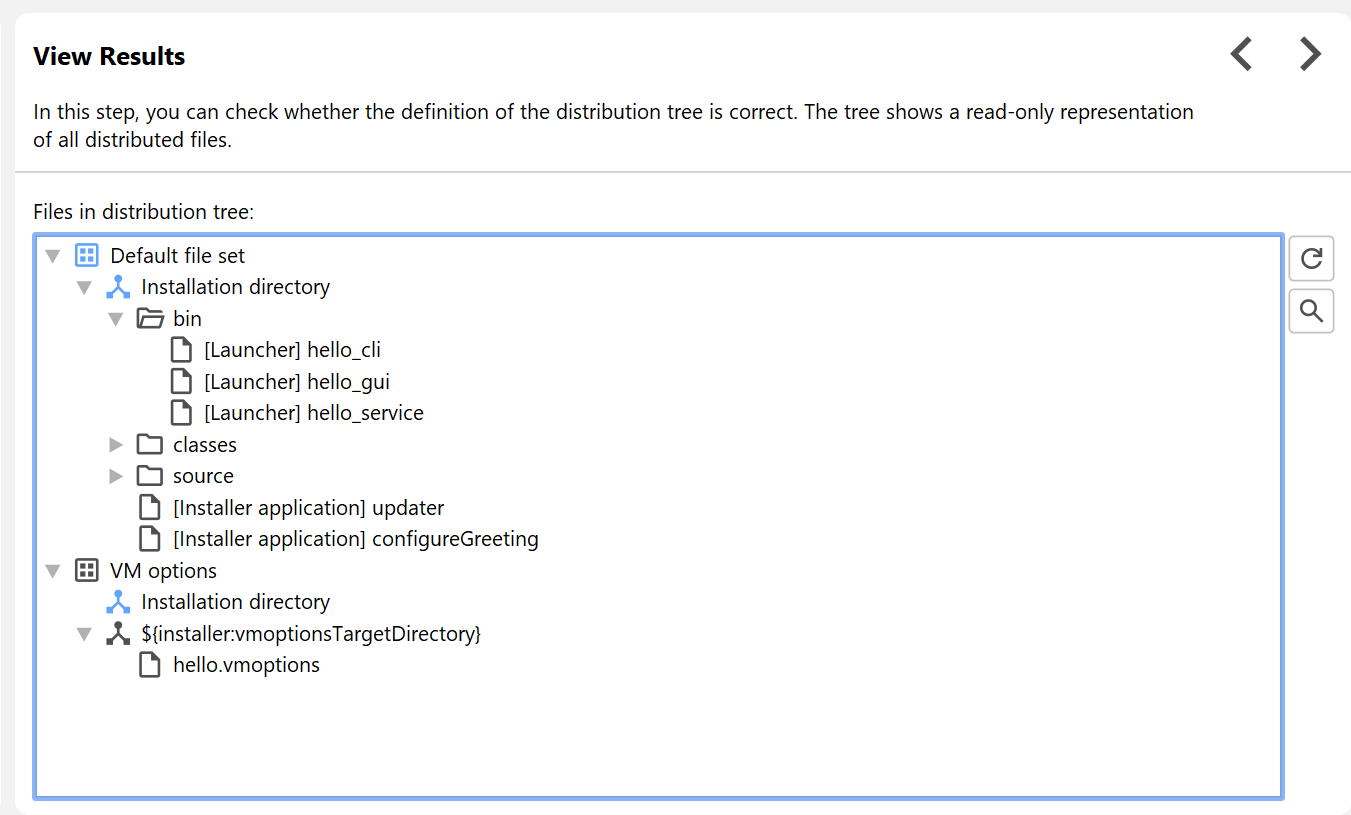
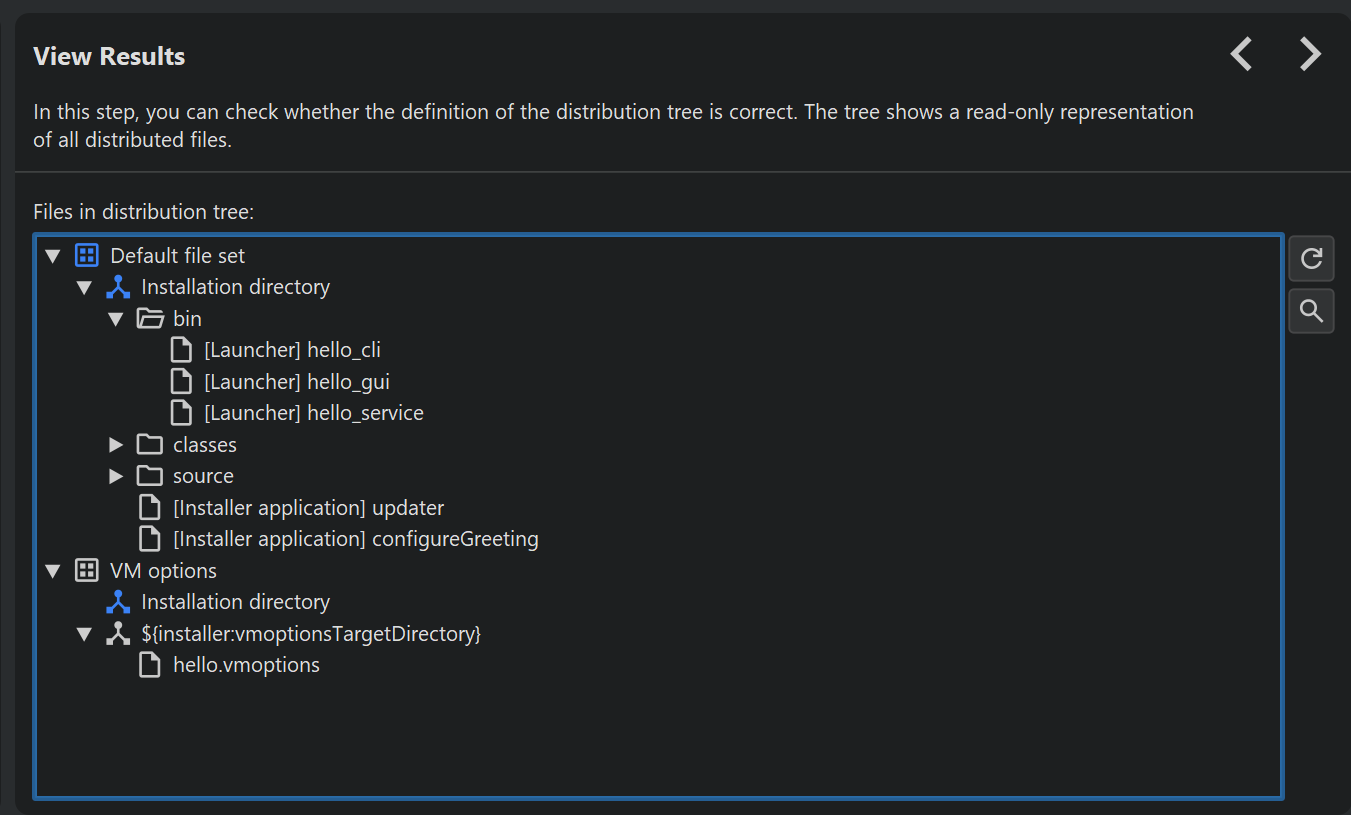
On the "View Results" step, you then see the actual file tree as it will be collected and distributed by the generated media files. Go to this step to check whether your actions on the "Define Distribution Tree" step actually produce the desired results.
Root container nodes
The top-level nodes in the distribution tree are called file sets. There is one "Default file set" node that cannot be deleted or renamed. The relative paths of all files that are added to a file set must be unique. See the help topic on file sets and installation components for more information on how to use file sets.
Within a single file set, it causes an error at build time if the installation paths for two files collide.
For example, if you have added the contents of two different directories into the same folder in the distribution
tree and both directories contain a file file.txt, building the project will fail
with a corresponding error message. In this case, you have to exclude the file in one of the
directory entries. This is only an issue for files, subdirectory hierarchies, on the other hand,
are merged and can overlap between multiple directory entries and explicitly added folders.
You can create new file sets with the New File Set action in the Add menu on the right side. Each file set has its own "Installation directory" root. If you define custom roots that should be present in multiple file sets, you have to duplicate them.
The child nodes of a file set are called installation roots. Their location is resolved when the installer runs. There are two types of roots:
-
The default root of the distribution tree is labeled "Installation directory" and has a special icon. This is the directory where your application will be installed on the target system. The actual directory location is dependent on user actions at the time of installation. In regular installers, a user can select an arbitrary directory where the application should be installed. For Linux package media files, a user can override the default directory with command line parameters. For archives, the files are simply extracted into a common top-level directory.
For installers, the installation directory will only be created if you execute an "Install files" action in the installer configuration. By default, the "Install files" action is added to the "Installation" screen. If your installer should not create an installation directory, you can ignore this root and remove the "Install files" action.
More information on the various installer modes is available in the corresponding help topic.
-
If your application needs to install files into directories outside the main installation directory, you can add custom roots to the distribution tree. This is done with the New Root action in the Add menu on the right side or in the context menu. The actual location of this root is defined by its name and has to resolve to a valid directory at runtime.
There are several possibilities for using custom roots. The name of a custom root can be
-
a fixed absolute path known at compile-time
This works for custom environments where there is a fixed policy for certain locations. For example, if you have to install some files to
D:\apps\myapp, you can enter that path as the name for your custom root.If you build installers for different platforms, that root is likely to be different for each platform. In that case, you can use a compiler variable for the name of the custom root and override its value for each media file on the "Customize project defaults->Compiler variables" step of the media wizard.
-
an installer variable that you resolve at runtime
If you would like to install files into the directory of an already installed application, such as a plugin for your own application, you can use an installer variable that you resolve at runtime. Installer variables have an
installer:prefix, such as${installer:rootDir}, and can be set in a variety of ways.The most common case would be to add a "Directory selection" screen to the screen sequence and set its variable name property to the variable that you have used as the name of the custom root. For the above example, that would be
rootDir, without the${installer:...}variable syntax.Alternatively, you could use a "Set a variable" action to determine the location programmatically.
-
a pre-defined installer variable
install4j offers several variables for "magic folders" that point to common directories, such as
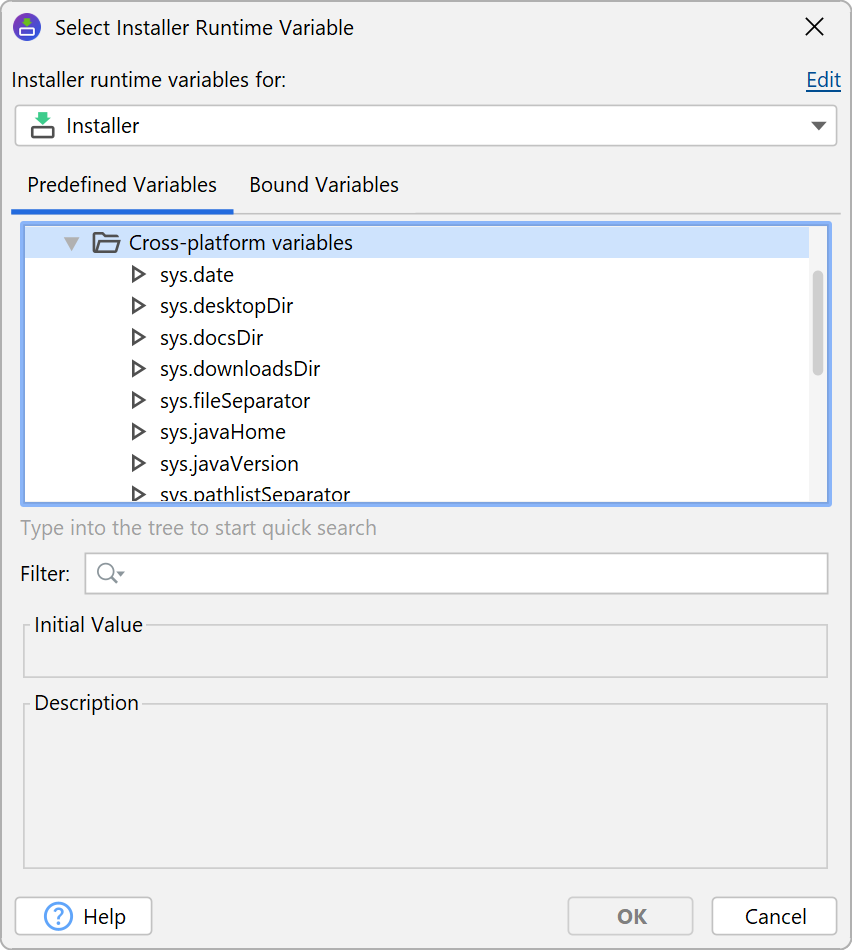
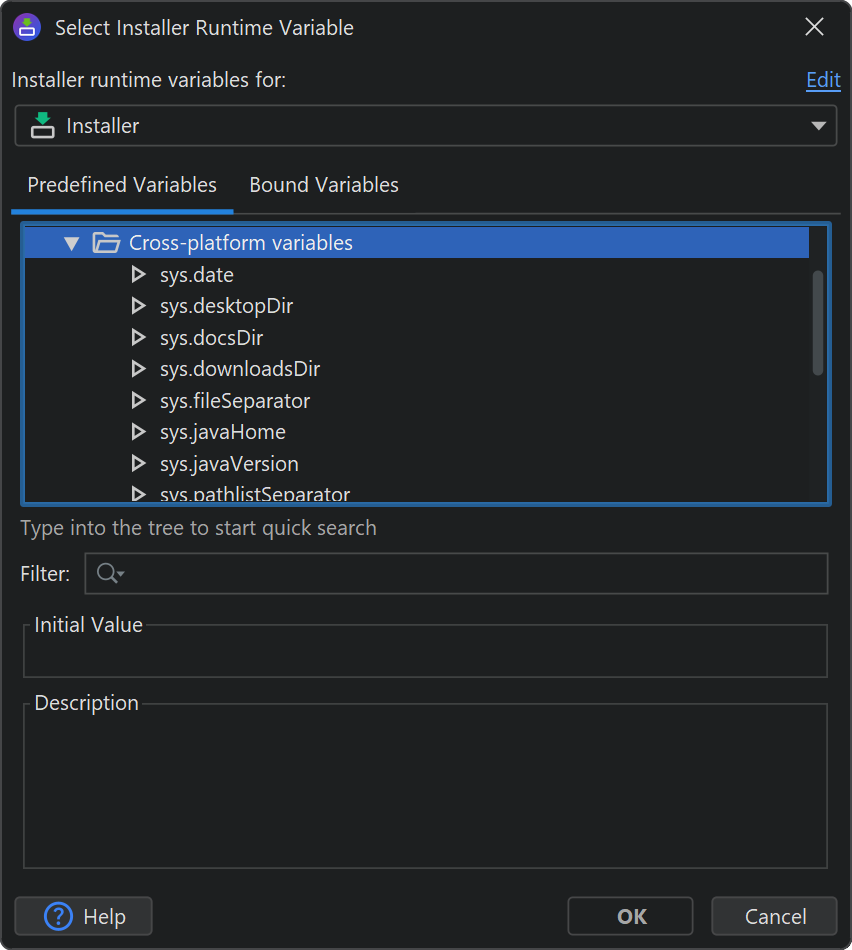
${installer:sys.userHome}which resolves to the user home directory or${installer:sys.system32Dir}which resolves to thesystem32directory on Windows. Have a look at the "Cross-platform variables" category in the installer variables selector for a list of variables that are suitable for all platforms.
If a custom installation root is not bound at runtime or if it points to an invalid directory, the contained files will not be installed and there will be no error messages. If you require error handling, you can use a "Run a script" action before the "Install files" action with the appropriate error message and failure strategy.
For archive media file types, custom installation roots are not installed. If you require these custom roots for your installation, you cannot use archives.
An alternative way to redirect installed files to different directories is to use the "Directory resolver" property of the "Install files" actions. Also, the "File filter" property of that action can be used to conditionally install files. The use of these properties is only recommended if you require their full flexibility. Otherwise, using custom installation roots and installation components is a better approach.
-
Content nodes
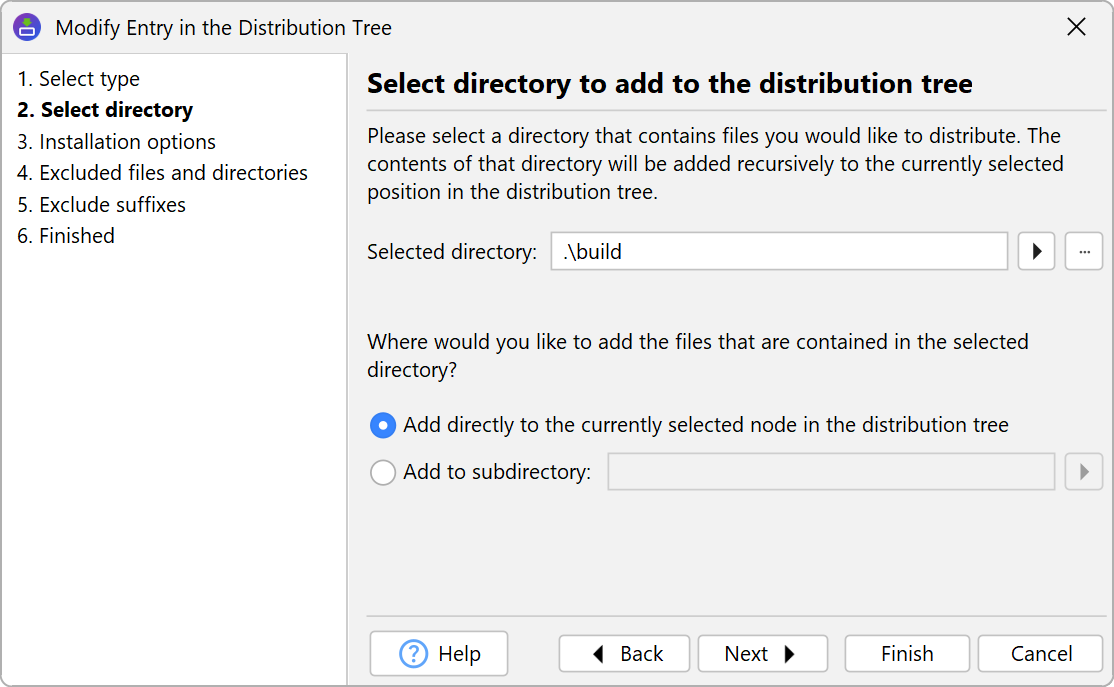
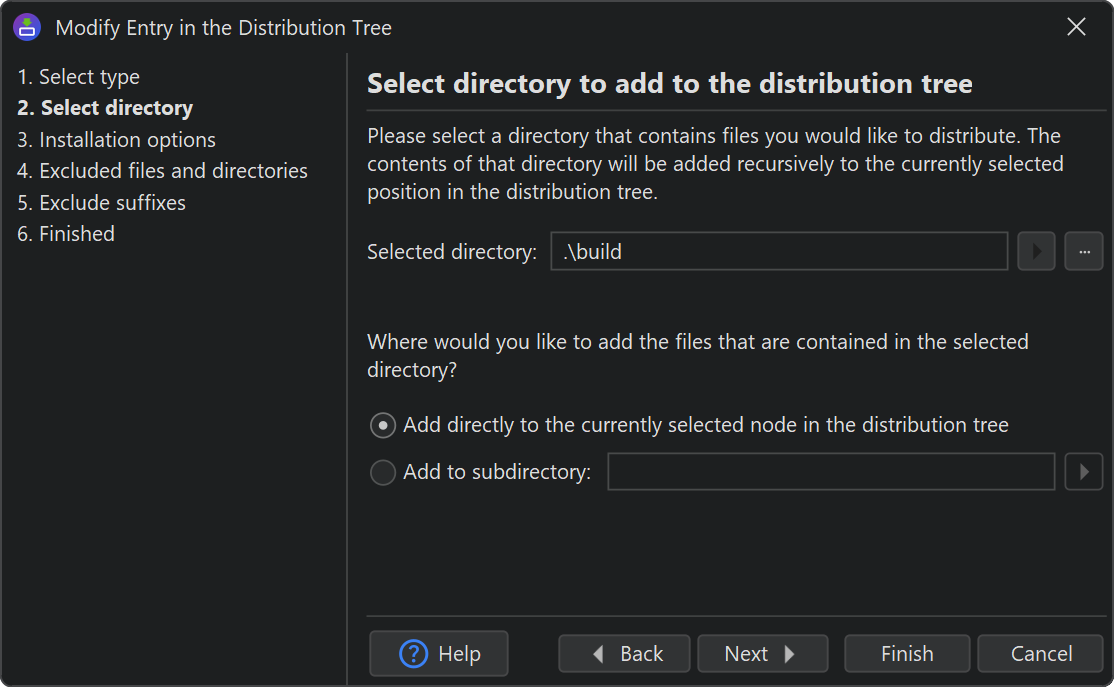
Adding files to the distribution tree is done with the Add Files And Directories action in the Add menu on the right side or in the context menu. In the first step of the file wizard you choose the source or the files:
-
With a directory entry, you recursively add the contents of a selected directory. You have the possibility of excluding certain files and subdirectories and excluding files based on their file suffix. In the configuration wizard you can override the default settings for the overwrite and uninstall policies as well as the Unix file and directory modes.
-
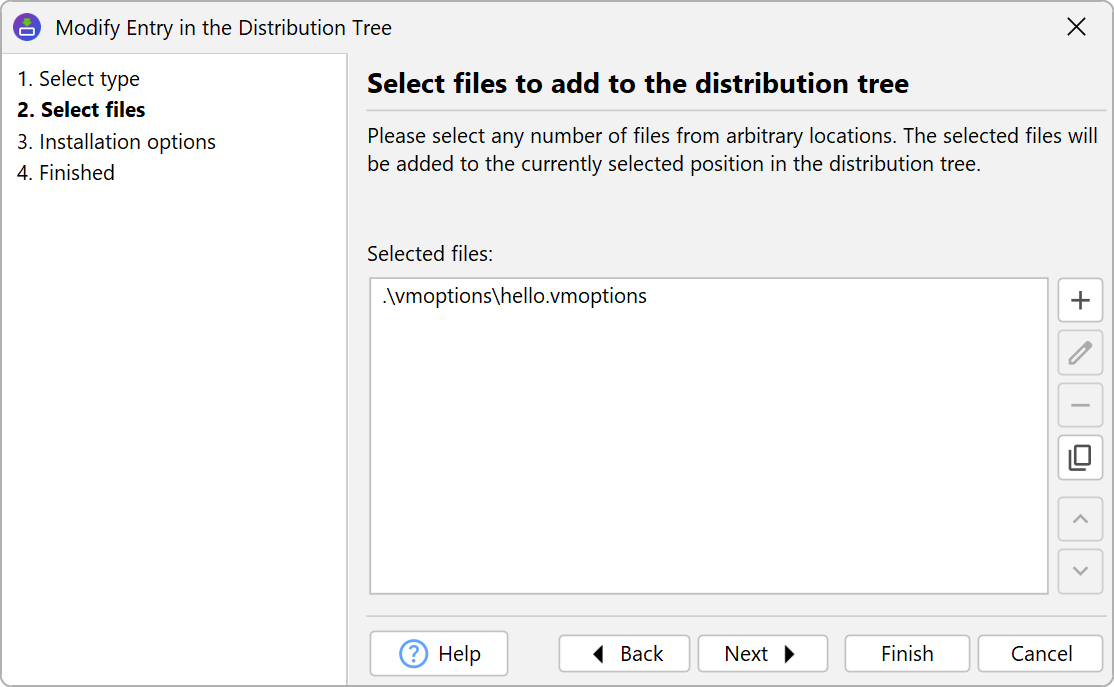
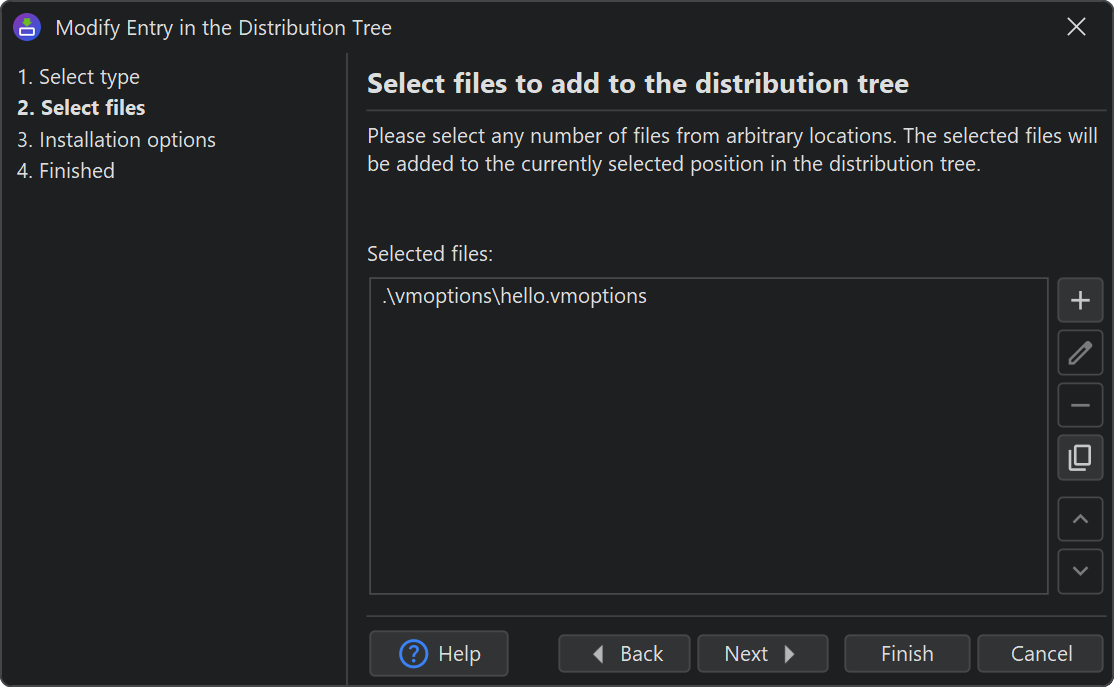
Alternatively, you can add a number of single files, possibly from different locations, into a single directory. Each selected file will be added as a separate node that has its own settings and can be moved independently in the distribution tree.
With the Copy action you can add a file list from the system clipboard. The file list must consist of file entries that are separated by line breaks or the standard path separator (";" on Windows and ":" on Unix). Each file entry can either be absolute or relative. On the first occurrence of a relative path, a directory chooser is shown where you select the root directory against which all further relative paths should be resolved.
-
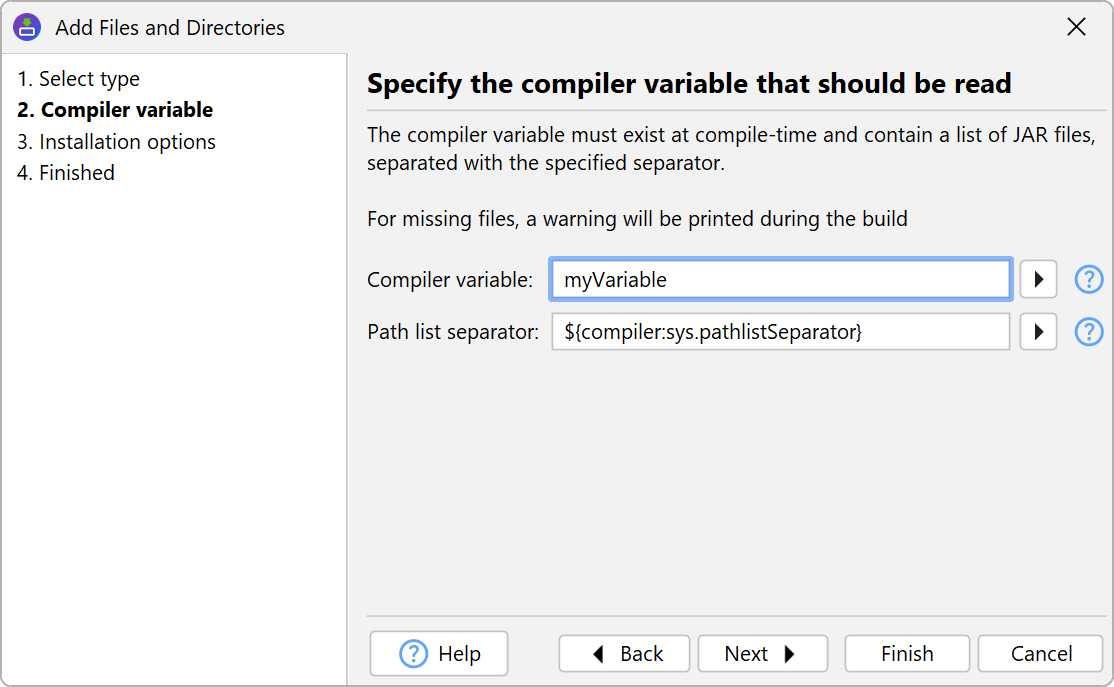
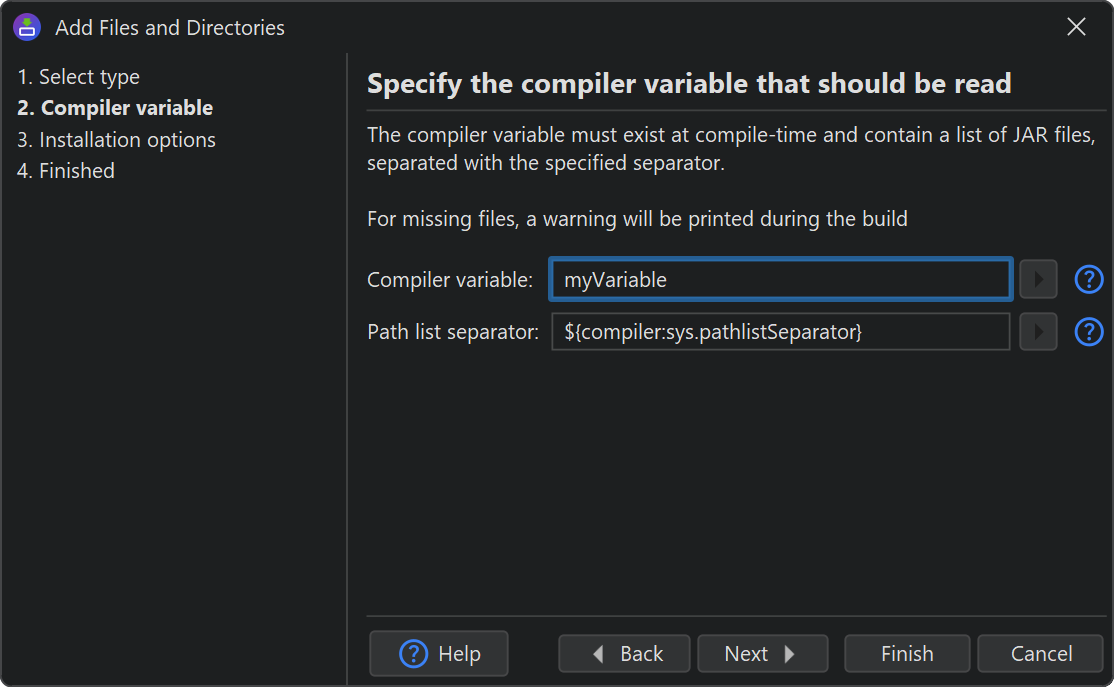
Finally, files can be passed externally through a compiler variable. This can be useful if you collect lists of files in your build tool and want to use that information to dynamically build the distribution tree. The command line compiler as well as the Gradle, Maven and Ant plugins have mechanisms for setting compiler variables for the build.
The string that separates different files in the variable value is configurable and set to the platform-specific path separator by default.
Folder nodes
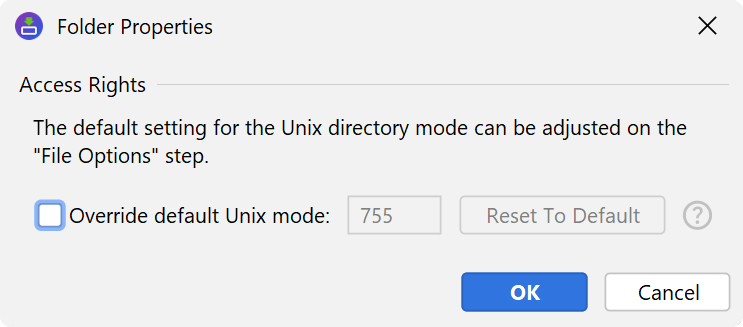
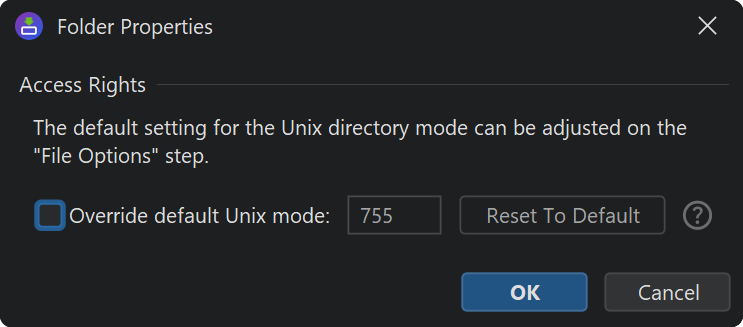
Fixed folder nodes can occur below the root nodes to build nested directory structures. Using the "Edit entry" action on a fixed folder node allows you to edit the unix mode of the folder.
Usually, a directory structure will be copied from a staged distribution directory, but fixed folders are useful under several circumstances. For example, if you want to apply different top-level prefix directories, you can add corresponding folder.
Also, fixed folders and single files in fixed folders have a higher precedence than folders and files from
directory entries. In this way, you override settings for certain folders or files. For example, if a
"contents of a directory" node includes the file a/b/c.txt, you can manually add nested folders
a and b and then add the single file node c.txt. You could then set
a different overwrite or uninstall policy for the file. Also, you could override the Unix mode of the
directories.
Compiler variables as directory or file names
Using compiler variables as directory or file names in the distribution tree allows you to make compile-time conditional includes. The following rules apply:
- if a directory node resolves to the empty string after variable replacement, the directory and any contained entries will not be included in the distribution.
- if the source directory of a "contents of directory" node resolves to the empty string after variable replacement, no files will be included by that entry.
- if the file name of a single file node resolves to the empty string after variable replacement, no file will be included.
For conditions that are evaluated at runtime or for adding platform-dependent files, you should use files sets instead.
File options
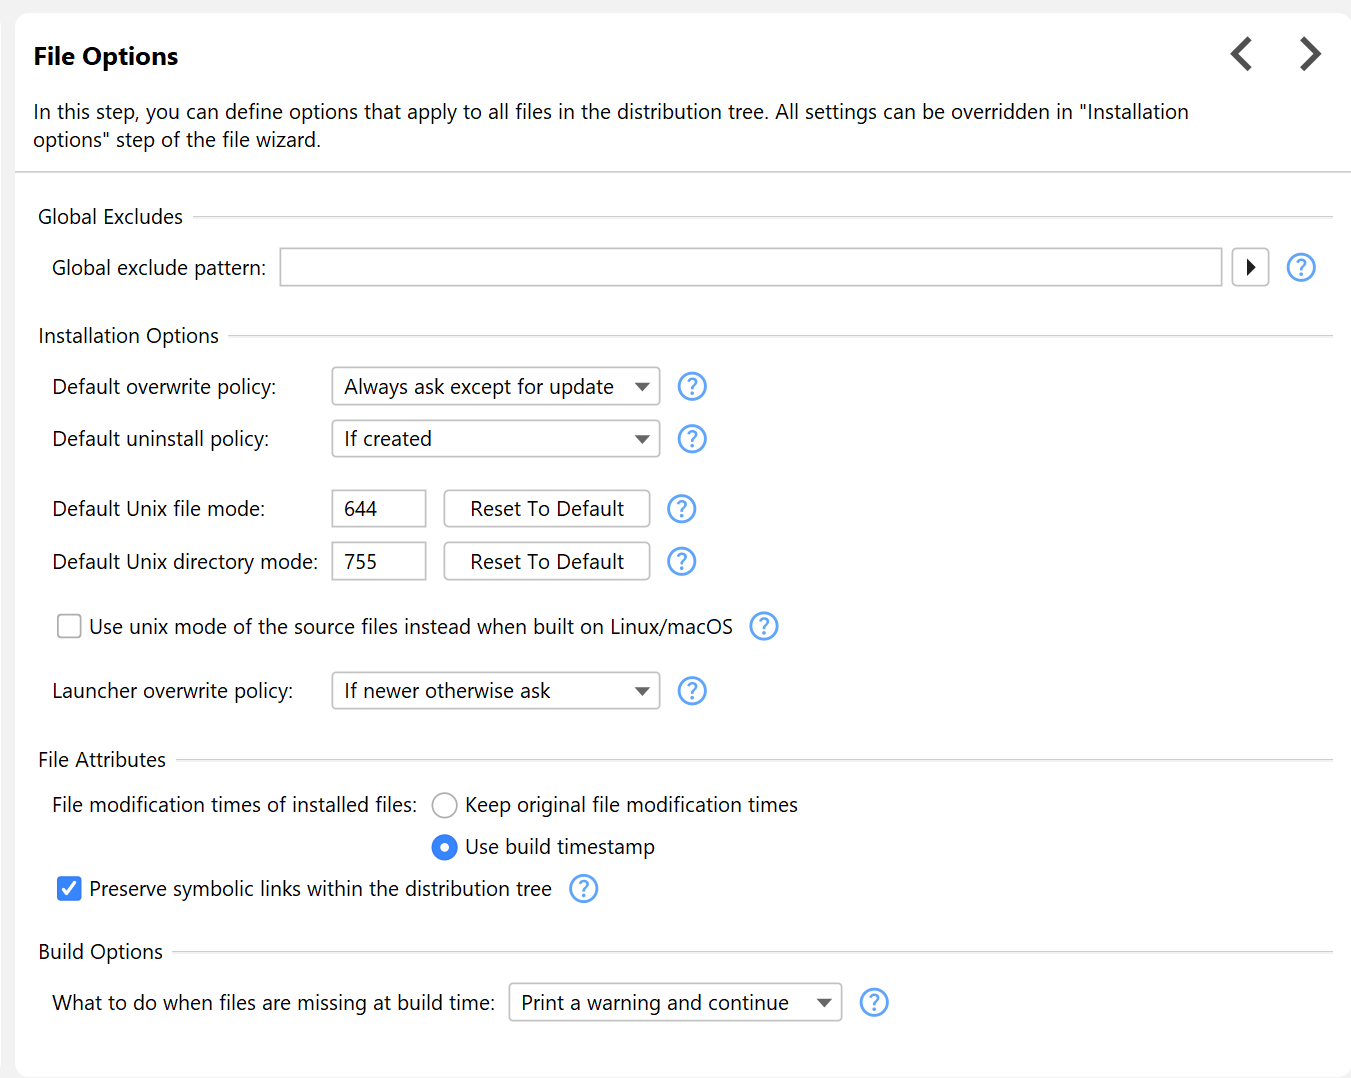
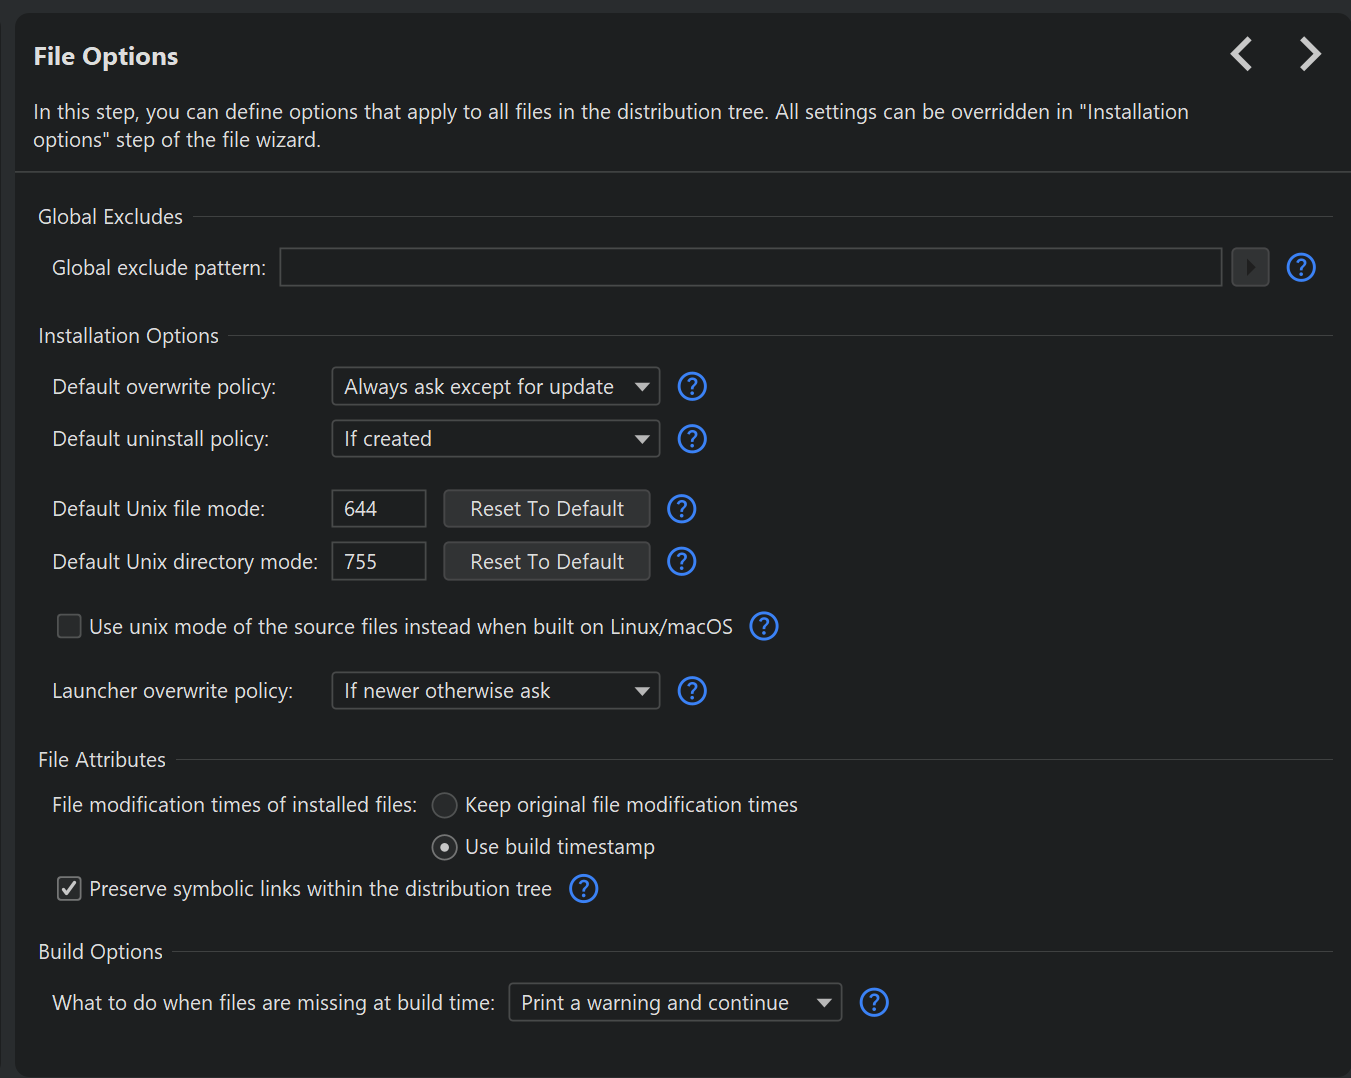
On the "File options" step, a number of settings determine the behavior of the installer and uninstaller. When files are already present, you can choose a number of strategies for the "Install files" actions by changing the "Default overwrite policy". Similarly, the "Uninstall files" action decides what to do for installed files based on the "Default uninstall policy" setting. On Unix, the "Install files" action assigns permissions to installed files and directories as configured in the default Unix file and directory modes on this step. All these options can be overridden in the configuration of the content nodes.
Other available options concern the compilation phase. You can choose the source of the file modification times, specify a global pattern of files and directories that should be ignored when collecting files and select a strategy for what should happen if some specified files are missing at build time.
